Updated: May 2026

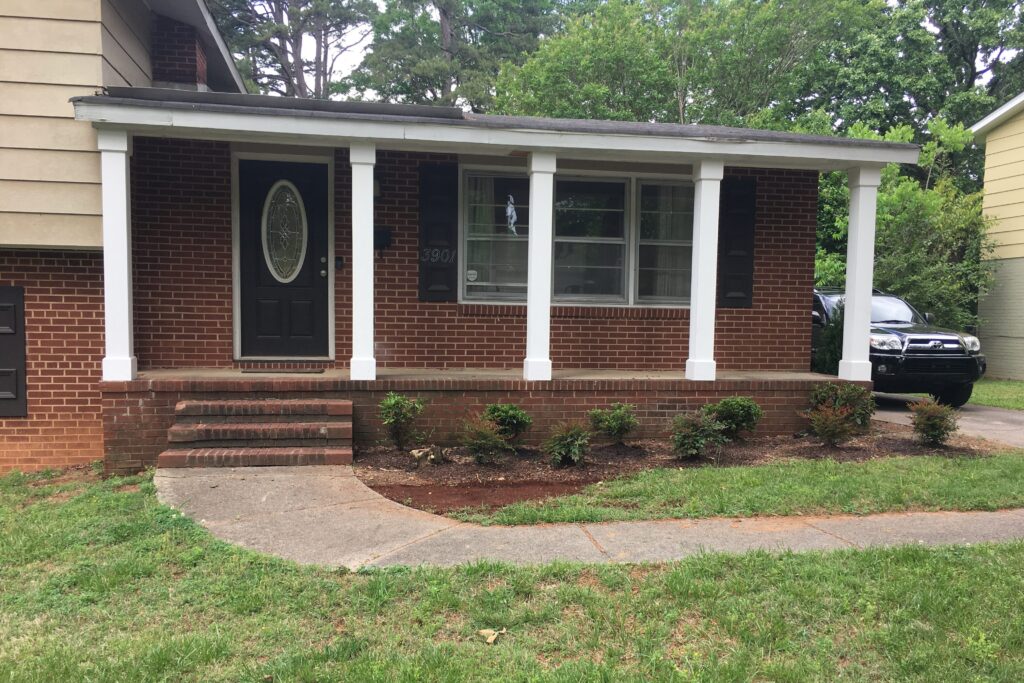
A front porch is one of the first things anyone notices about your home. If yours is being held up by rotting, builder-grade columns that look like they belong on a condemned property, you already know the feeling. I had three of them. Replacing my front porch columns with craftsman-style PVC was hands down my favorite upgrade on the entire split-level renovation — we finished the whole job in a single day, and the curb appeal transformation was immediate. This guide walks you through exactly how to do it, what it costs in 2026, and everything I’d do differently.
Step 1: Plan Before You Buy Anything
I’d been wanting to replace my porch columns for a while, but other renovations kept taking priority — if you’ve been through a full split-level home modernization, you know how the list works. It was only when a house down the street did a front porch makeover that I finally got off the fence. The house had similar dimensions to mine, so one afternoon I walked down and asked the owner if I could take measurements of their new columns. I loved what they did so much I basically copied it.
Before ordering a single board, work through these decisions:
How Many Columns?
I replaced 3 original builder-grade columns with 5. The original three were placed left, right, and center — purely functional, no thought given to proportion. Five columns framed the porch properly and looked significantly more intentional. My tip: grab a piece of paper and sketch the front of your house with different column counts. The right number usually jumps out at you immediately.
Column Placement
Try to center your entryway — meaning when you look straight at your front door, two columns should be an equal distance on either side of the door centerline. This isn’t always possible depending on your porch geometry, but it’s the most visually balanced arrangement when you can pull it off.
Column Width
Wide is in. Craftsman-style columns are chunky and grand, and they look far better than the skinny 4×4 wrapped columns on most 1960s and 70s split levels. Just make sure the width you gain doesn’t eat into the functionality of a narrow porch. The last thing you want is to squeeze past your own columns every time you answer the door.
Step 2: Choose Your Column Material
This decision matters more than most people realize. You have three main options:
- PVC board — My choice and my recommendation. PVC is completely rot-proof, holds paint indefinitely without peeling or cracking, and requires essentially zero maintenance. It costs more upfront but you’re never replacing it again. If you’re doing this once and doing it right, use PVC.
- Composite (Trex or similar) — Durable and looks great, but more expensive than PVC board and still requires occasional caulking at seams.
- Primed pine — The least expensive option and the least durable. Pine wrapped columns need to be caulked and repainted every few years or they’ll rot at the base. Not what you want to be doing every three years.
If your budget allows, go PVC. The labor to install all three materials is identical — the extra material cost is minimal compared to the time you’ll save on maintenance over the life of the columns.

Giveaways, Ebook, and Forum coming soon. Be the first to know about new content!
Tools You’ll Need
This is the saw I use and its held up for years doing multiple projects. They also make a battery version but it's a little more expensive

- Miter Saw — Essential for making clean, square cuts on your PVC boards and 4x4s. Don’t attempt this project with a circular saw alone.
- 4-Foot Level — You’ll use this constantly. Every post needs to be checked for plumb before you wrap it.
- Plumb Bob — For transferring exact post locations from the overhead beam down to the porch surface.
- Hammer
- Tape Measure
- Drill with masonry bits — Needed for drilling pilot holes into concrete porches. Buy a pack of DeWalt masonry bits — they dull quickly on concrete and you’ll burn through a few per column.

Material List
- 4×4 pressure-treated posts (one per column plus one extra for shoring)
- 2x4s for furring/spacer blocks
- PVC board (or your chosen wrap material) — enough to wrap all four sides of each column
- 4×4 post base anchors (concrete or wood type depending on your porch surface)
- Tapcon concrete screws (for concrete porches) or exterior wood screws (for wood porches)
- Siding nails (for attaching furring blocks to 4x4s)
- 16-gauge trim nails for attaching PVC boards to spacers – make sure they plunge into the pvc boards and you do a good job caulking over them after this
- PVC-compatible paintable caulk for sealing seams
How Much Does It Cost to Replace Porch Columns in 2026?
My total came in just under $500 for five PVC columns. That was a few years back — material costs have increased since then, but this project remains one of the more affordable exterior upgrades you can do on a split-level home. Here’s a realistic 2026 breakdown:
| Item | Budget (Pine) | Mid-Range (PVC) |
|---|---|---|
| 4×4 posts (5 columns) | $60–$90 | $60–$90 |
| Wrap material (boards) | $80–$150 | $200–$350 |
| Post anchors + hardware | $40–$80 | $40–$80 |
| Trim, caulk, nails | $30–$60 | $50–$100 |
| Total DIY | $210–$380 | $350–$620 |
| Full contractor install | $1,200–$3,000+ (labor + materials) | |
The DIY savings here are significant, and this is genuinely a one-day project if you’re comfortable with basic carpentry.
Installing the Columns: Step by Step
Step 1: Measure the Height of the Existing Columns
Measure at each end of the porch and near the middle. Hopefully, all columns are the same height — if they differ slightly, confirm whether it was intentional to account for a sloping porch or overhang. As long as the finished columns are all level at the top, minor variation in the existing structure is manageable. Cut your first 4×4 to the measured height as your template piece.
Step 2: Shore Up the Porch
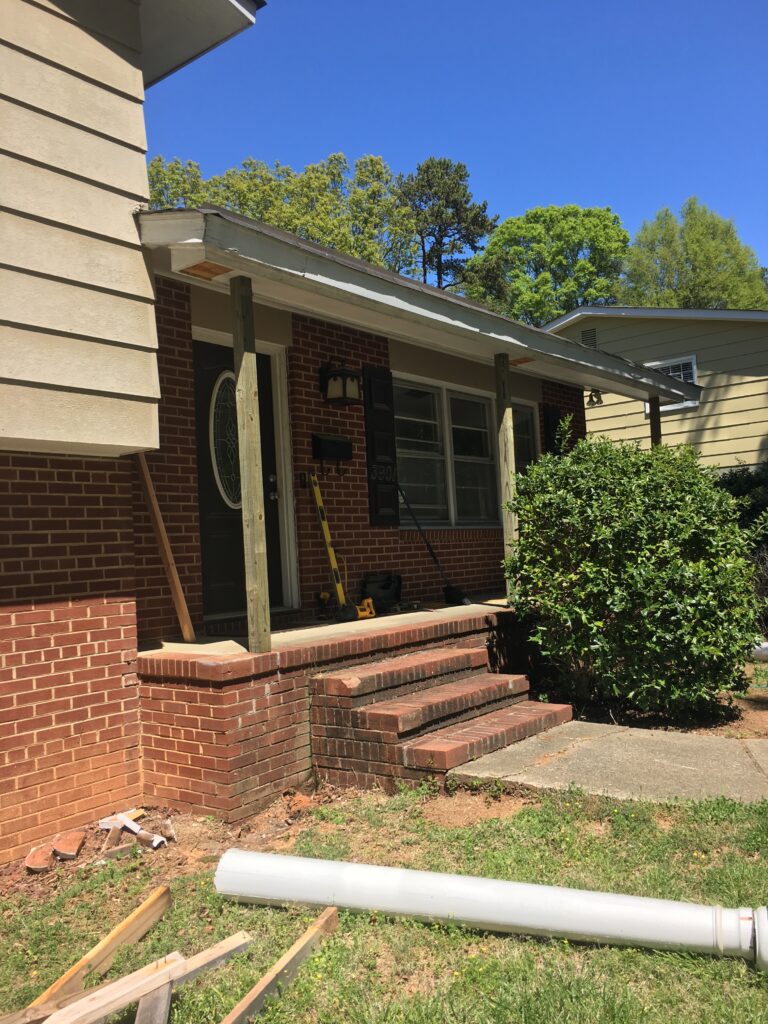
⚠️ Safety First: Do not remove a single old column until the porch is properly shored up. The overhang above your porch may be carrying real structural load through those columns. Removing support without shoring first can cause a partial collapse. If you have any doubt about your porch structure, consult a contractor before proceeding.
Before touching the old columns, temporarily support the overhang using your new 4x4s or other lumber. Place at least one support post within a foot of each existing column. Do not span distances greater than 8 feet without a support in between.
Important: Don’t put these temporary supports in the exact final location of your new columns — you’ll be installing anchors there in the next step and you don’t want to have to move them.
Step 3: Remove the Old Columns
Once you’re confident the porch is properly shored, the old columns can come out. Mine were so far gone that a firm push was all it took. Yours may be more stubborn — a pry bar handles most situations. Remove any remaining hardware or anchors from the porch surface and clean up the area where the new anchors will sit.
Step 4: Install the Post Base Anchors
Position your post base anchors at the new column locations. Use a plumb bob to transfer the exact location from the overhead beam down to the porch surface — this ensures your columns will be directly under the load point above.
For concrete porches: drill pilot holes with a masonry bit, then anchor with Tapcon concrete screws. Buy a pack of masonry bits — they dull after 2–3 holes in concrete and you’ll need fresh ones for each anchor location.
For wood porches: use exterior structural screws driven through the anchor plate into the porch framing below. Make sure you’re hitting actual framing, not just decking.
Step 5: Set the New 4×4 Posts
Fit each 4×4 into its anchor at the bottom and snug against the overhang above. The fit should be firm — add ⅛–¼ inch to your measurement to ensure the post fills the gap completely without forcing the overhang out of level. A few light hammer taps should seat it into position.
Check each post for plumb with your 4-foot level on two adjacent faces. Slight lean before the wrap is installed is normal since the post is only anchored at one end — any major deviation needs to be corrected at the anchor, not by forcing the post.
Once you’re satisfied with the position, fasten the post to the anchor according to the anchor manufacturer’s spec. Don’t skip this — the anchor connection is what keeps the column in place during high winds.
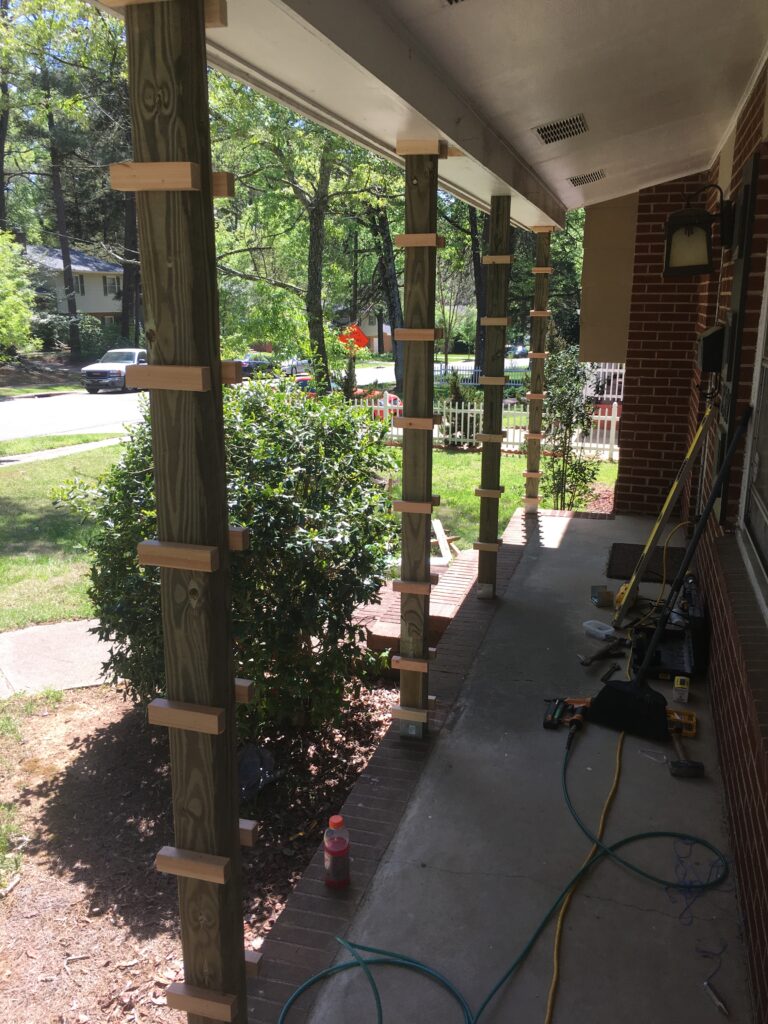
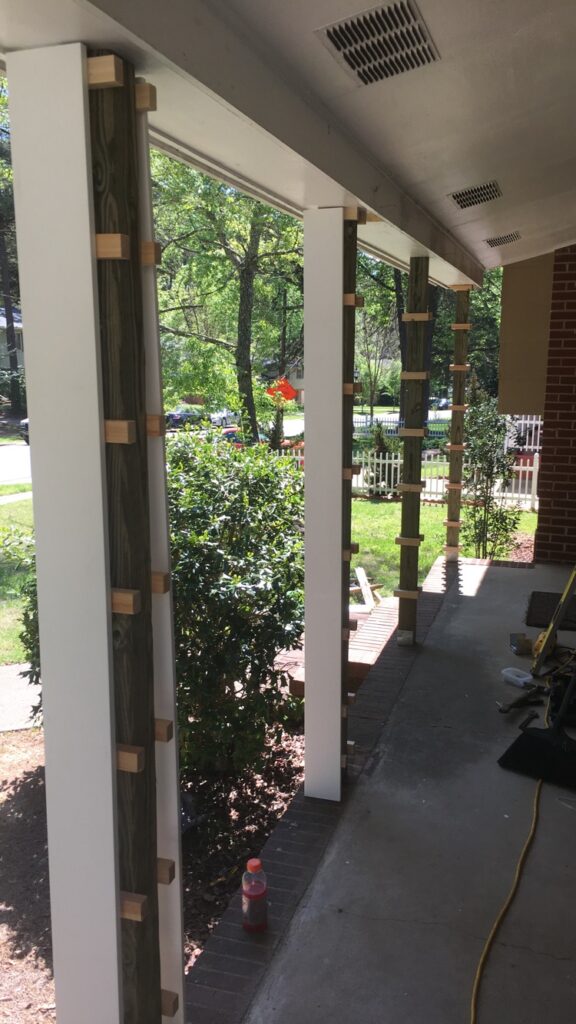
Step 6: Cut the Furring Blocks to Size
The furring blocks are what give your finished columns their width beyond the 4×4 core. This is where the planning you did upfront pays off — you decided how wide you want the finished columns, and now you’re cutting 2×4 spacers that achieve those dimensions when the wrap boards are applied.
Each column has four wrap boards — two pairs of identical boards installed on opposite faces. The spacers create the depth needed so the finished column achieves your target width. Draw this out on paper before cutting: sketch a cross-section of the 4×4 with your spacers and four boards around it to confirm the math before you start cutting lumber.
Attach the furring blocks to the 4×4 with siding nails. They don’t need to be structural — they just need to hold position while you nail the wrap boards on.
Step 7: Install the Wrap Boards
If your furring blocks were cut correctly, the wrap boards should fit cleanly around each post. Work your way around each column, nailing the PVC boards into the spacers with exterior trim nails. Keep the boards tight to each other — gaps at corners look unprofessional and will collect dirt.
You'll be glad you got a battery operated one. Being tied to an air compressor is a pain, you'll also use this for many quick fixes in other projects around your house.

A few tips for cleaner results:
- Cut all boards for all columns before you start nailing — batch cutting on the miter saw is faster and more consistent than cutting one at a time
- Start with the two side boards on each column first, then fit the front and back boards to cover the edges of the side boards — this hides the most cut edges from the front view
- Pre-drill nail holes near the edges of PVC board to prevent cracking
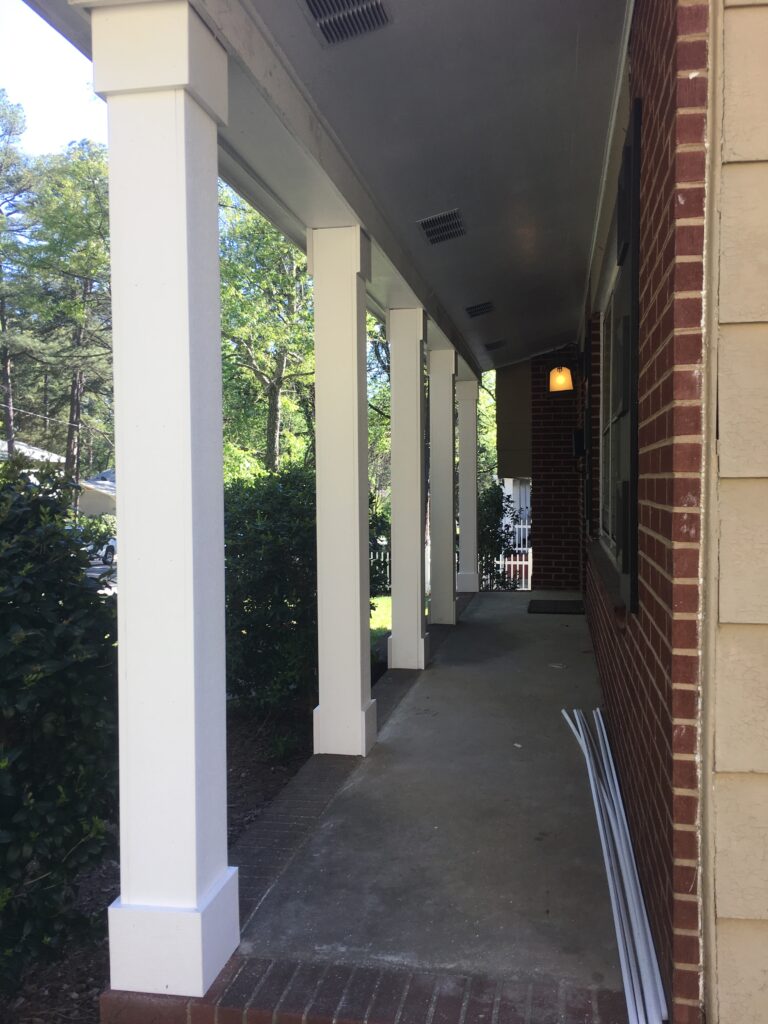
Step 8: Install Trim at the Top and Base
The trim covers the seams between the wrap boards and the porch surface below and the overhang above. Style is completely up to you — I used leftover PVC for a simple, clean cap and base detail. You can get as elaborate as you want here: crown moulding at the top, a built-up base with multiple layers, or simple flat trim for a cleaner modern look.
Caulk all seams where the trim meets the column wrap and where the column base meets the porch surface. Use a paintable PVC-compatible caulk and tool the bead smooth before it skins over. This step matters for longevity — water infiltration at the base is how even PVC columns eventually show wear.
What I’d Do Differently
Honestly, this was one of my cleanest projects with very few regrets. The one thing I’d change: after finishing the columns I added porch railing and spindles between the posts. I liked it at first, but my front porch is narrow and the railing quickly became more of a nuisance than an asset. If I were doing it again I’d skip the railing entirely — the columns stand well on their own and the open porch is more functional.
The other thing worth noting: this project is significantly easier with two people. I had a contractor friend helping, and his extra set of hands made the shoring, post setting, and beam work much smoother. Not impossible solo, but bring a helper if you can.
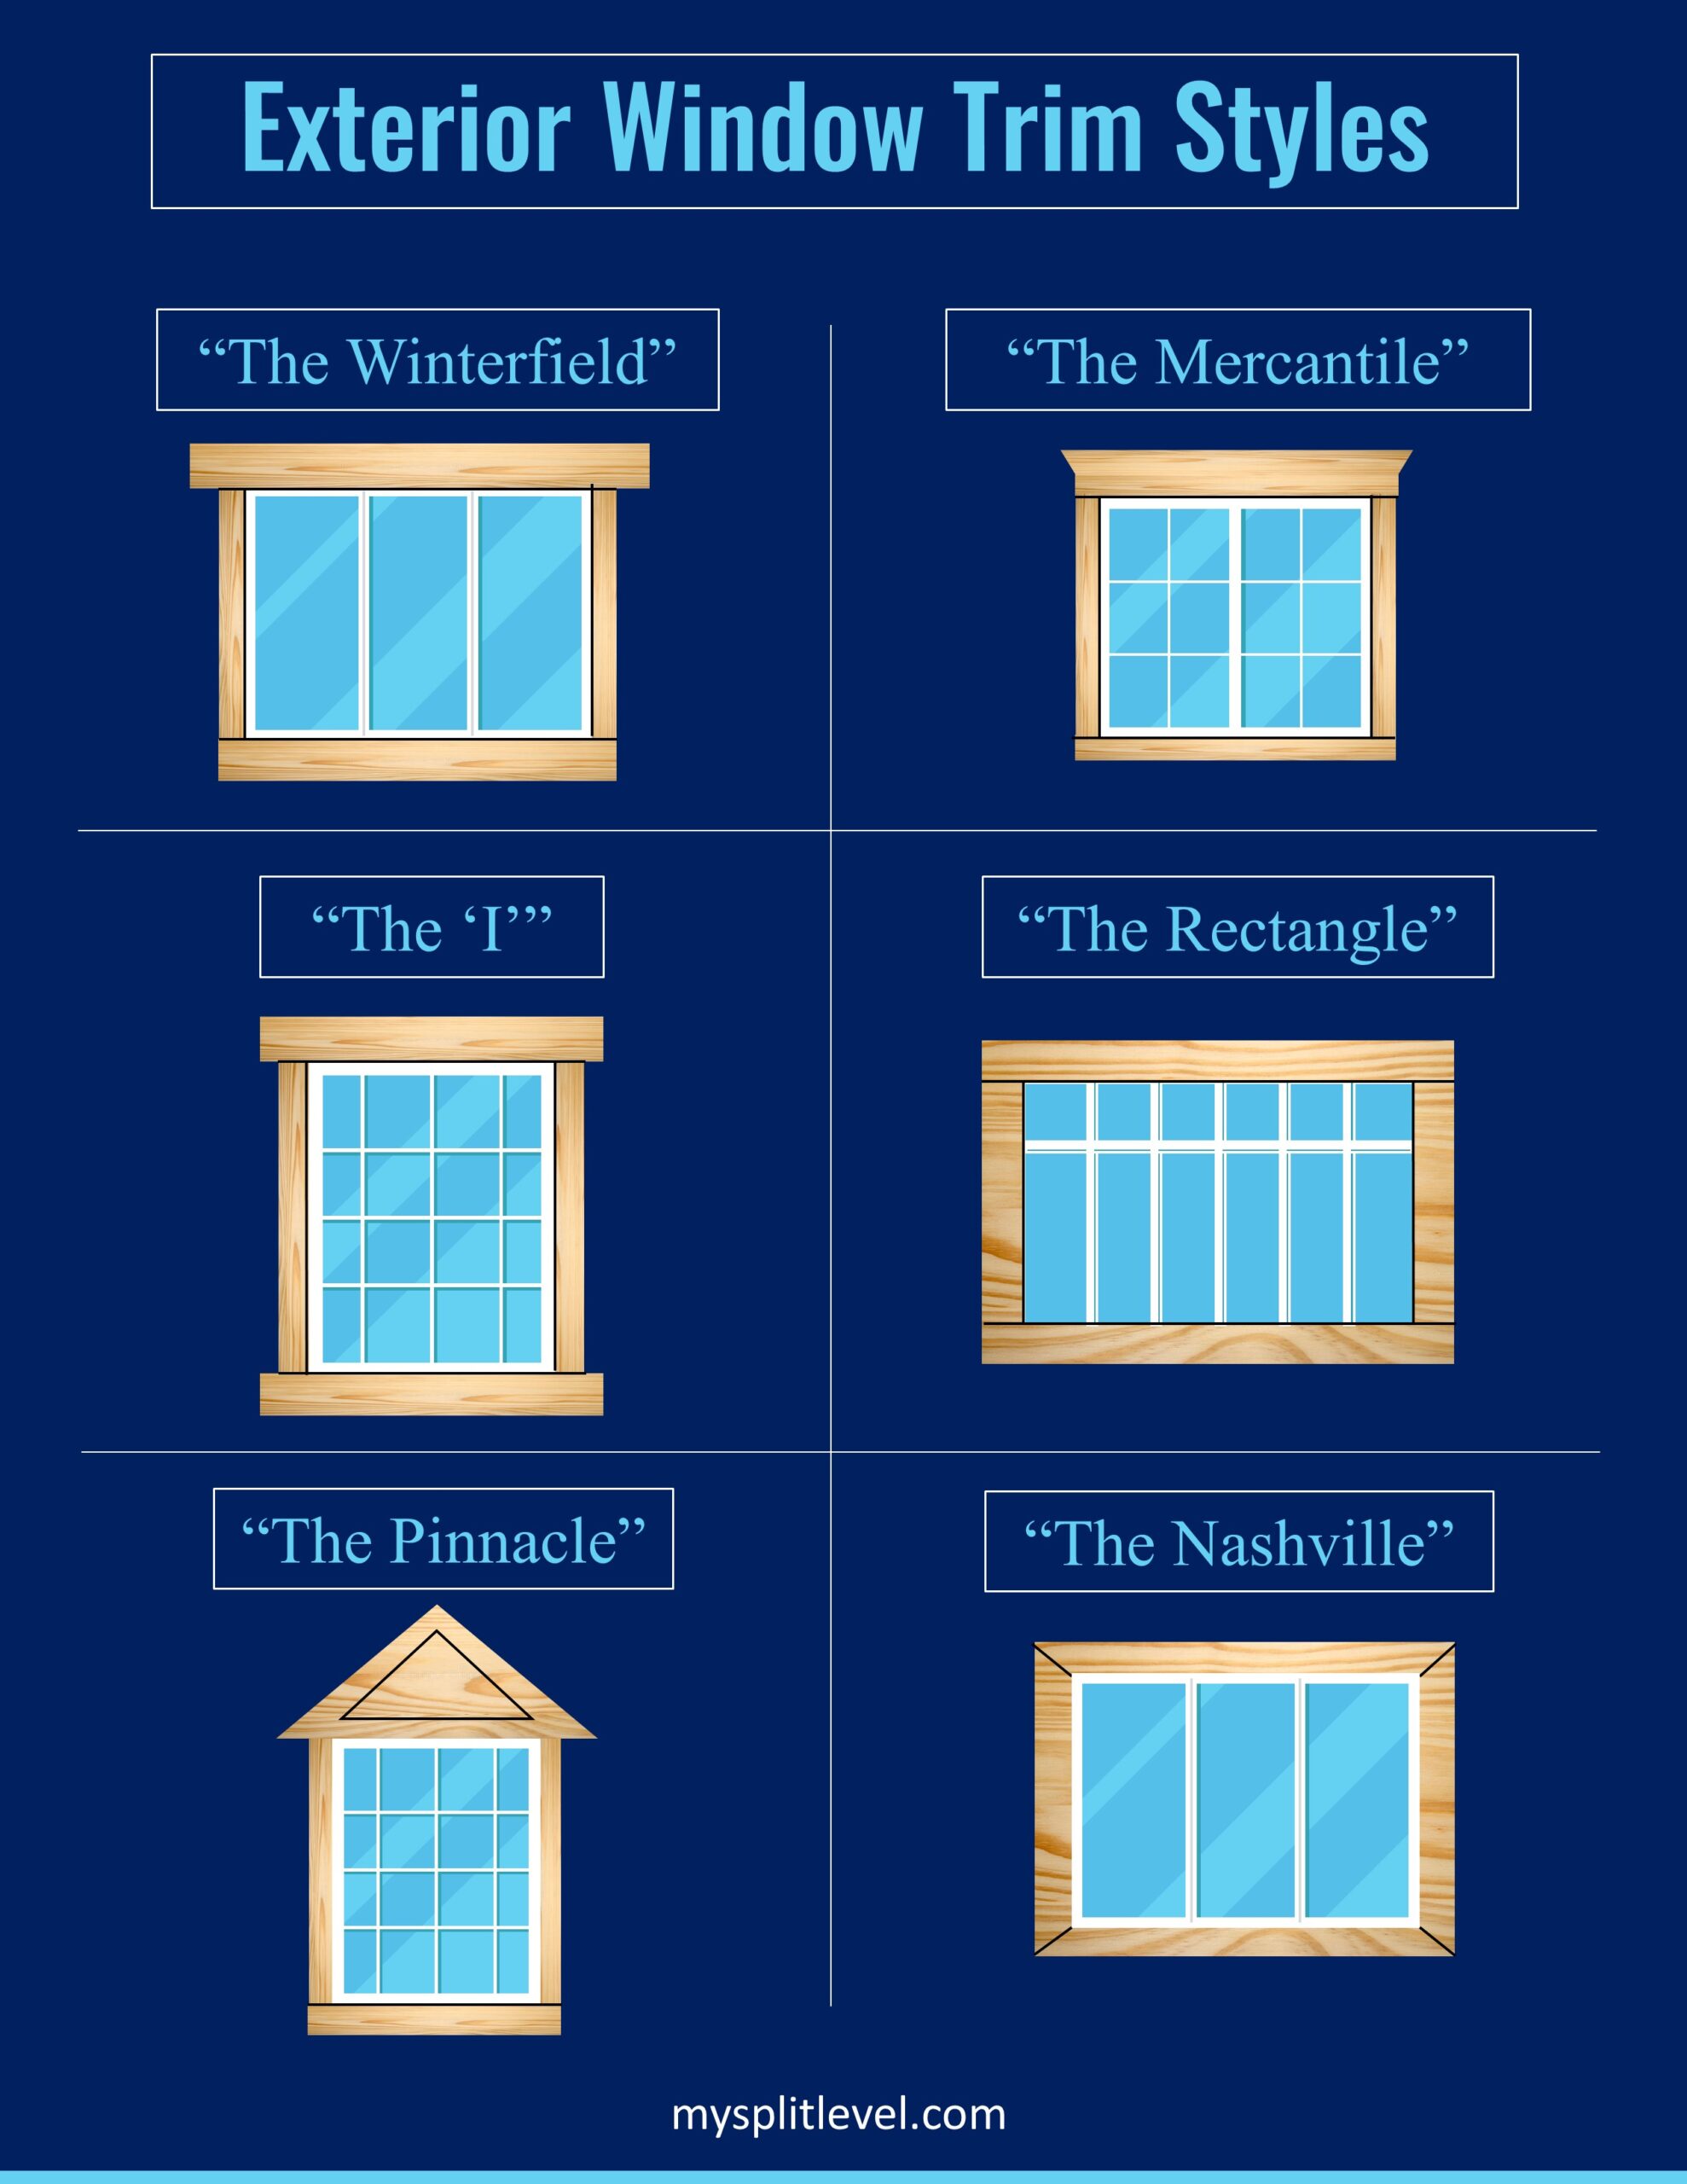
What to Tackle Next
New columns make such a visible improvement that they often highlight other dated exterior details around them. The next natural step on most split-level homes is updating the exterior window trim — modern window trim ties the new columns together and completes the curb appeal transformation without a major budget. It’s the project I did immediately after finishing the columns and the combination of both upgrades made the front of the house look like a completely different home.
Frequently Asked Questions
How much does it cost to replace front porch columns in 2026?
A DIY replacement using PVC board runs $350–$620 in materials for a typical 4–6 column porch. Primed pine brings that down to $210–$380. A contractor doing the same job typically charges $1,200–$3,000 including labor and materials.
What is the best material for front porch columns?
PVC is the best long-term choice for porch columns in most climates. It doesn’t rot, holds paint without peeling, and requires virtually no maintenance. Composite materials like Trex are also excellent but more expensive. Primed pine is the budget option but will need caulking and repainting every few years to prevent rot at the base.
Can I replace porch columns myself?
Yes — this is one of the more approachable exterior DIY projects on a split-level home. The most important safety step is properly shoring the porch overhang before removing old columns. If you’re comfortable with basic carpentry and have a miter saw, a helper, and a full day, you can complete this project in a weekend.
Do I need a permit to replace porch columns?
For a like-for-like replacement — same number of columns, same locations, same structural role — most jurisdictions don’t require a permit. If you’re adding columns, changing the porch structure, or modifying the load-bearing arrangement, check with your local building department first.
How long does it take to replace porch columns?
With a helper and all materials on hand, this is a one-day project for most homeowners. I completed five columns including shoring, demo, post setting, wrapping, and trim in a single day with one extra set of hands. Solo, plan for a full weekend.

Max
Max Lowrie, founder of MySplitLevel.com® and author of The Live In Flip© bought his first split level house in 2016. During a lengthy renovation, Max noticed that there was little useful content online specific to split-level homes. Max now devotes his time to share his knowledge hoping to help homeowners avoid unnecessary mistakes, and provide a blue print for split-level owners nationwide.
Giveaways, Ebook, and Forum coming soon. Be the first to know about new content!