Updated: May 2026
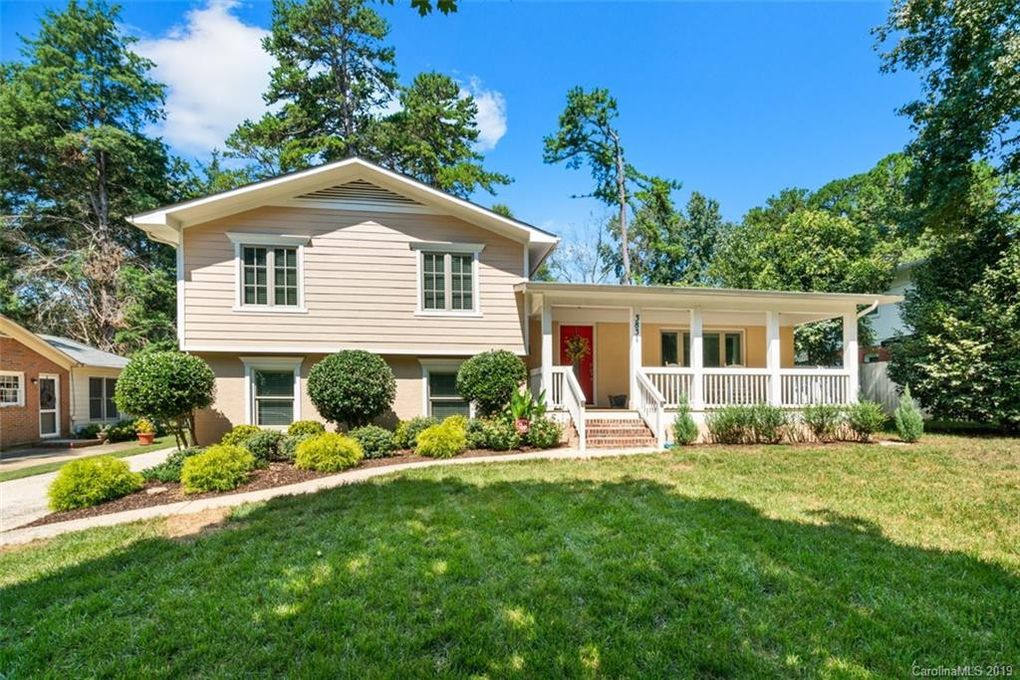
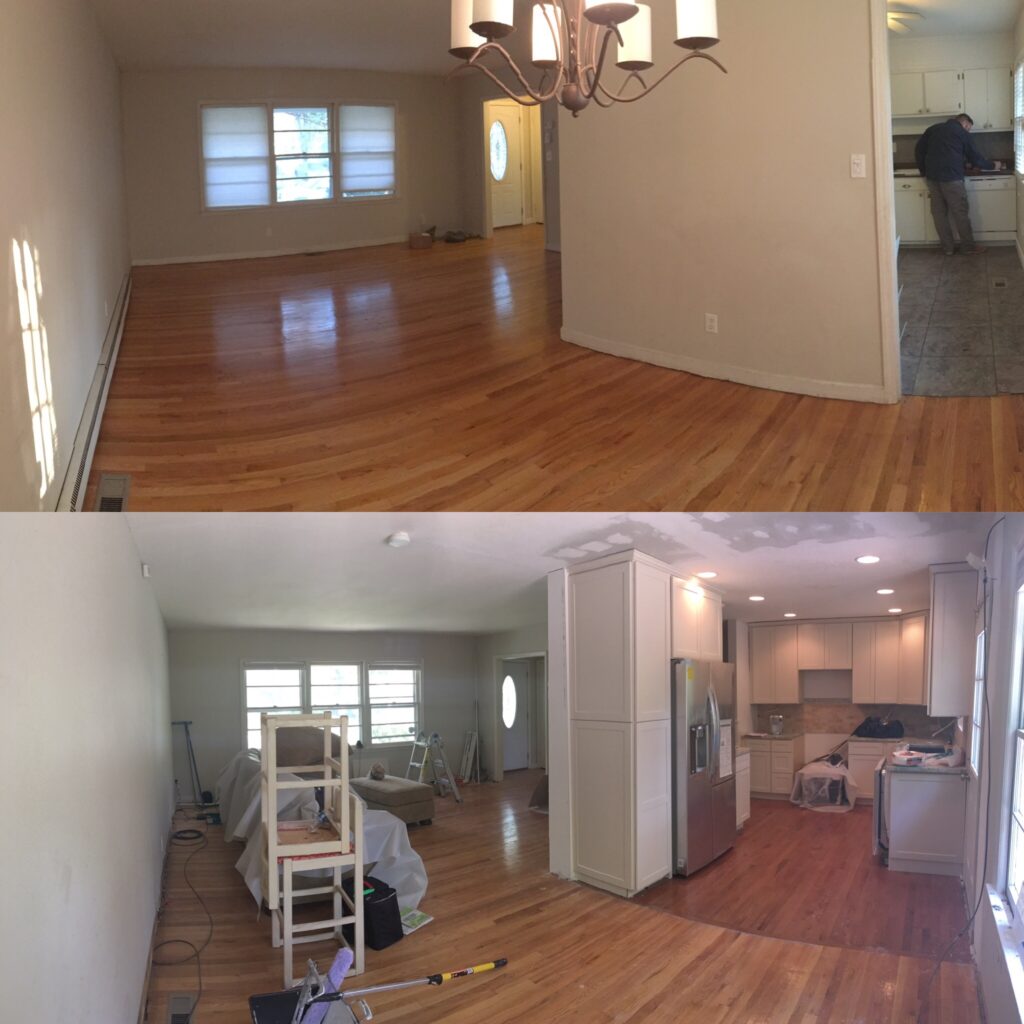
If there’s one thing every split-level home has in common, it’s a cramped, dark, closed-off kitchen. When I bought my 1960s split level, the kitchen was the first thing I attacked — and honestly, it was the renovation that made the biggest difference in the entire house. In this guide I’ll walk you through exactly how I opened up my split-level kitchen, what it actually costs in 2026, the mistakes I made so you don’t have to, and a gallery of split-level kitchen ideas from real homeowners.
How Much Does a Split Level Kitchen Remodel Cost in 2026?
Before swinging a sledgehammer, let’s talk money. Kitchen renovation costs have risen significantly since 2021 due to supply chain shifts and labor rate increases. Here’s a realistic breakdown for 2026:
| Item | DIY Cost | Contractor Cost |
|---|---|---|
| RTA Cabinets (10×10 kitchen) | $1,800–$3,500 | $4,500–$8,000 installed |
| Wall removal (non-load bearing) | $200–$500 | $800–$2,500 |
| Countertops (laminate to quartz) | $400–$900 DIY | $2,500–$6,000 installed |
| Appliances (mid-range set) | $2,500–$4,000 | Same + $300–$600 install |
| Flooring (LVP, per sq ft) | $1.50–$3.00/sq ft | $4–$7/sq ft installed |
| Full kitchen remodel (estimate) | $6,000–$12,000 | $25,000–$60,000+ |

Giveaways, Ebook, and Forum coming soon. Be the first to know about new content!
Step 1: Should You Remove the Wall? (How to Tell if It’s Load Bearing)
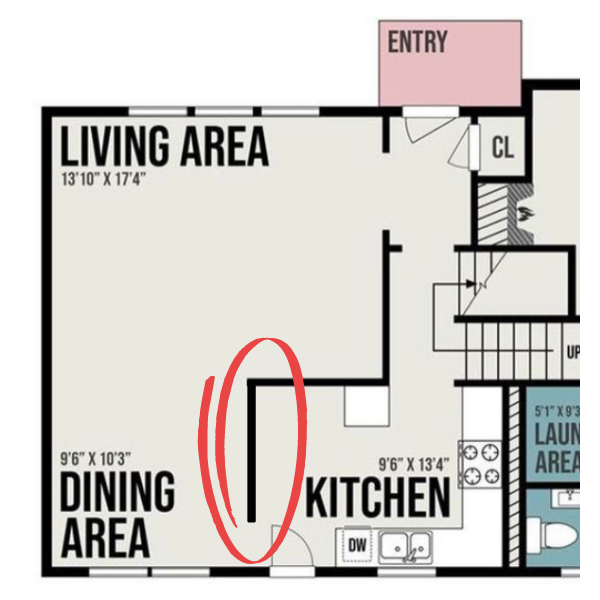
The defining feature of a split-level kitchen remodel is almost always wall removal. Most 1970s-era split levels were built with a partition wall separating the kitchen from the living room — and removing it changes everything.
Before you touch it, you need to determine if it’s load bearing. Here’s the method I used:
- Go into the attic or crawl space above the wall and look for any bracing connecting the wall’s top plate to the rafters. If you see it, stop and call a structural engineer.
- Check if the wall runs perpendicular to your floor joists (load bearing walls typically do) versus parallel (usually not structural).
- Look at your basement or lowest level — load bearing walls typically have a beam or column directly below them.
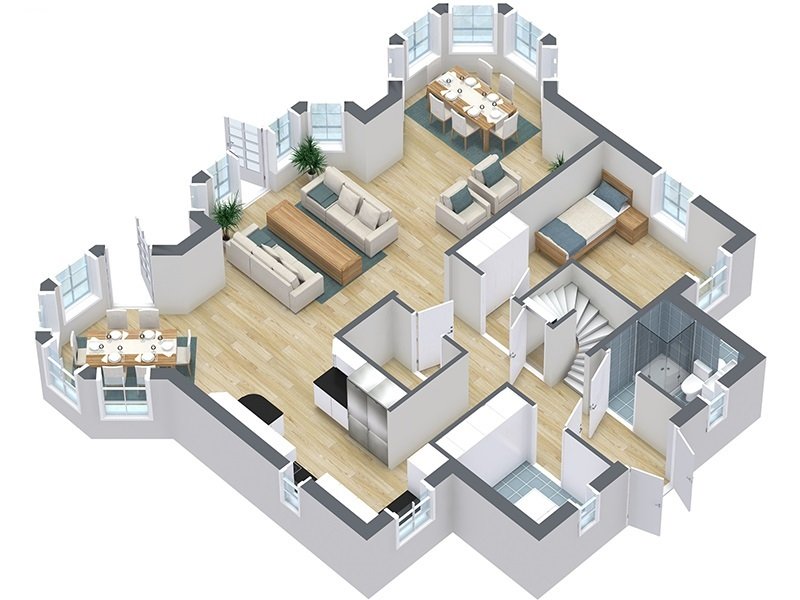
Split level floor plans are complex. RoomSketcher makes it easy to map out your existing layout, plan wall removals, and design the open floor plan you've been picturing — before you talk to a single contractor.
When in doubt, hire a structural engineer for a consult. It typically costs $300–$600 and can save you tens of thousands in mistakes.
Safety checklist before any demo:
- Turn off breakers for all kitchen circuits
- Use a non-contact voltage tester before cutting into any wall
- Wear safety glasses and a quality N95 dust mask — older homes may contain lead paint or asbestos in walls
- Have a helper present for wall demo — drywall sheets are heavy and unpredictable when cut loose
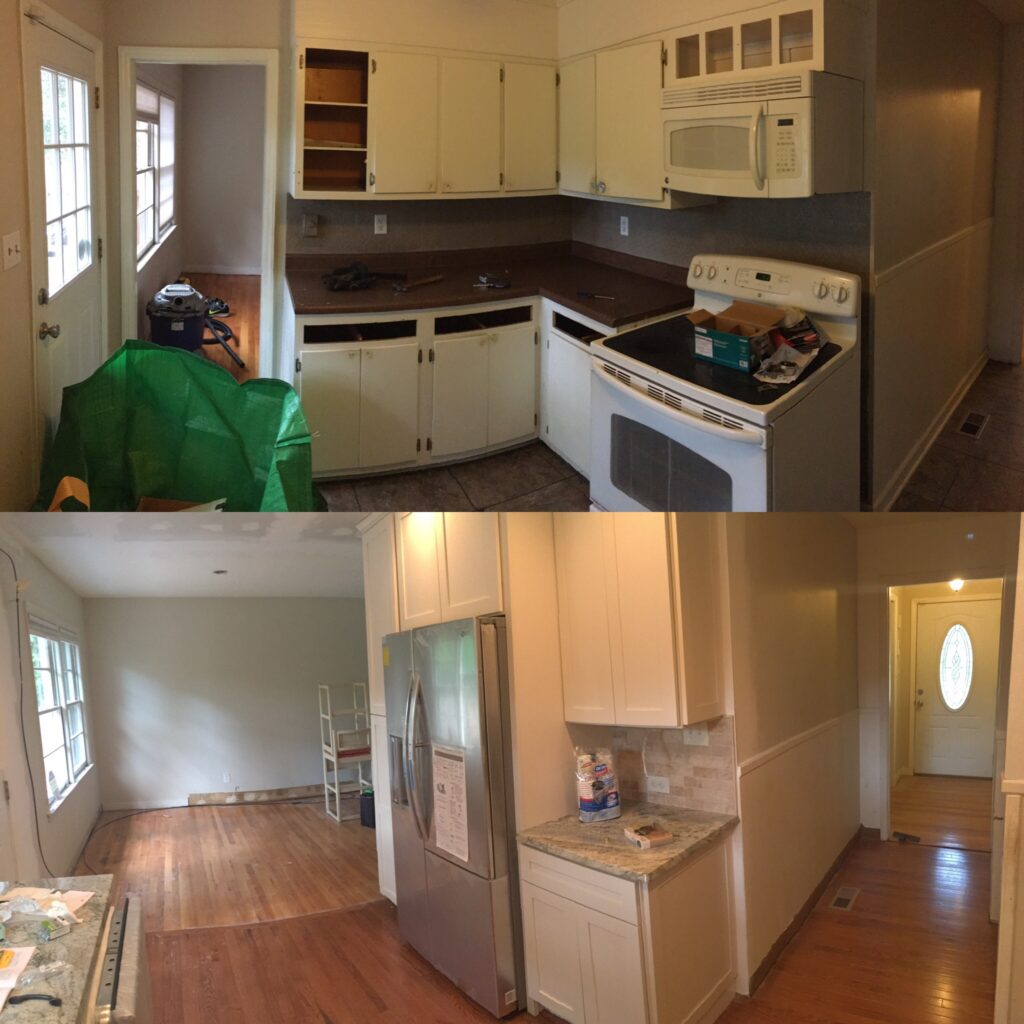
Step 2: Gutting the Old Kitchen
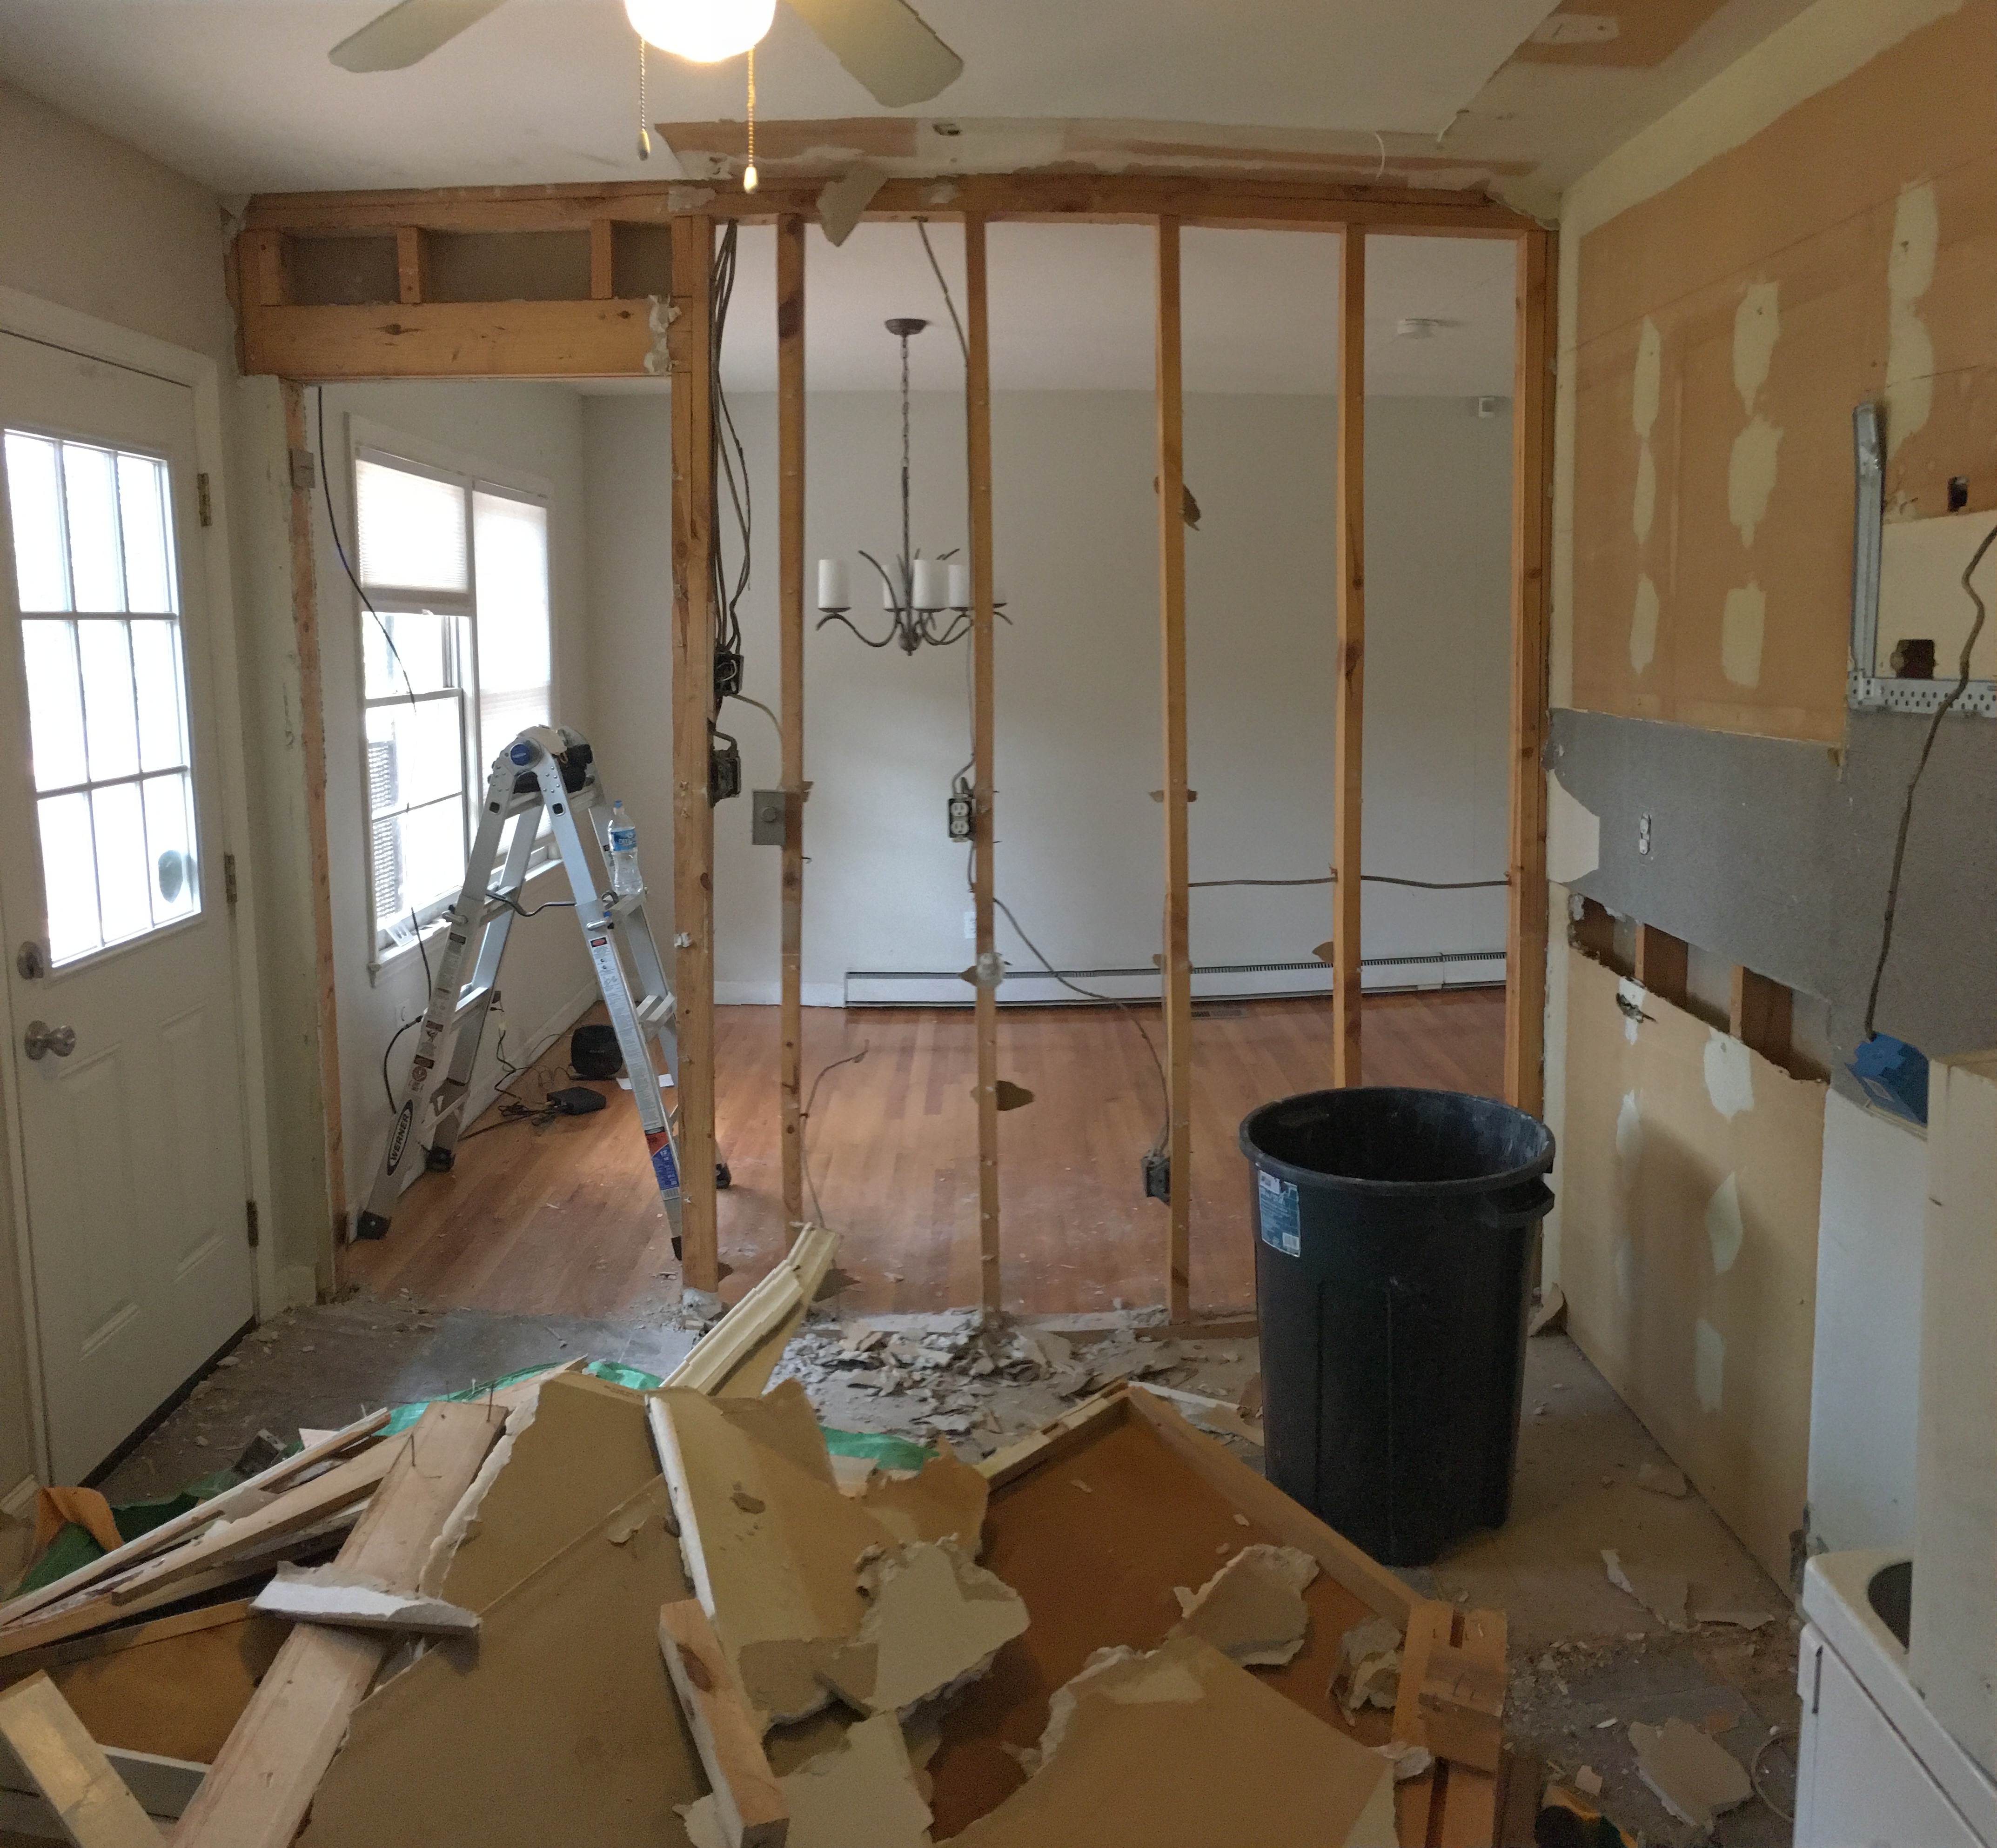
Before the wall comes down, the old cabinets go out. In my case, painting the original cabinets wasn’t even an option — they were water damaged, poorly built, and set at the wrong heights. Out they went.
Tip: When you gut old cabinets, take the opportunity to look at what’s behind them. In my kitchen I found a section of weakened subfloor from an old dishwasher leak, exposed wiring that wasn’t up to code, and evidence of a mouse situation that had been living rent-free behind the stove for God knows how long. Better to find it now than after new cabinets are installed.
Step 3: Choosing Your New Cabinets
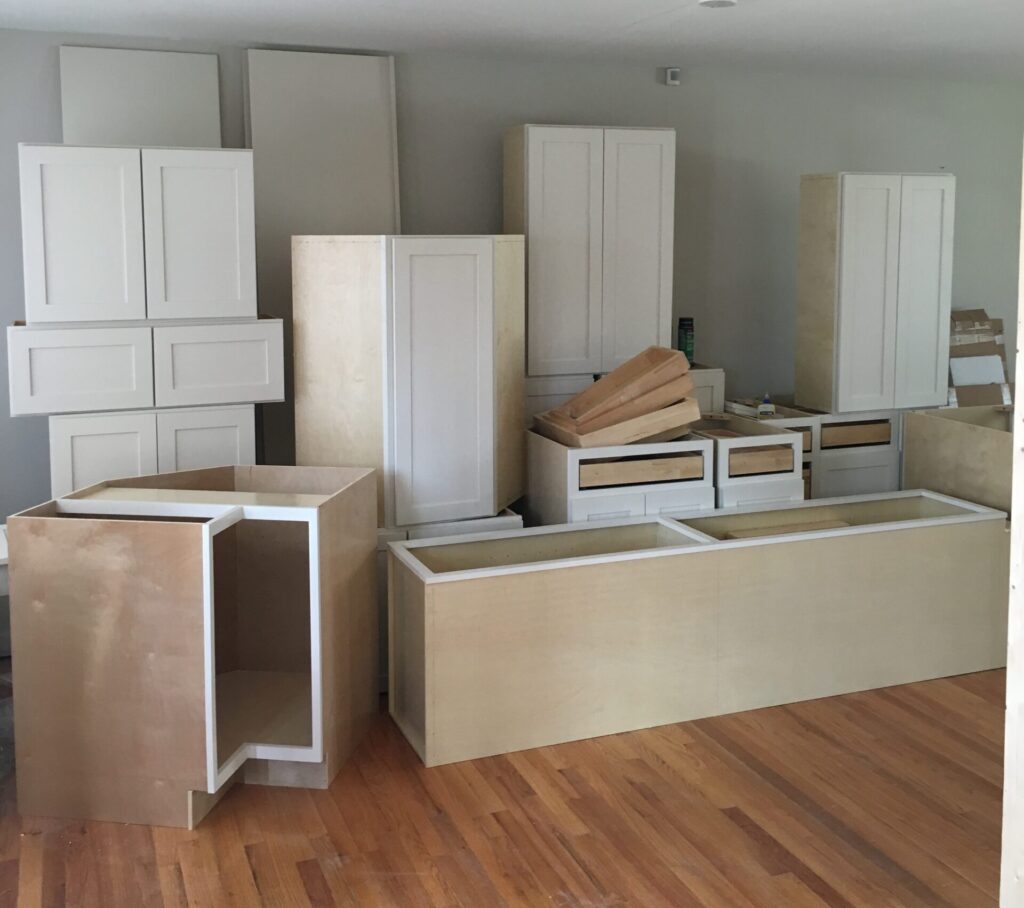
RTA (Ready-to-Assemble) cabinets are still the best bang-for-buck option for a DIY split-level kitchen remodel in 2026. They arrive flat-packed, assemble with glue and brad nails, and the quality has improved dramatically over the past few years.
What to look for in RTA cabinets:
- Plywood box construction (not particleboard) — it handles humidity and heavy loads far better
- Soft-close hinges and drawer slides included — these used to be upgrades, now they’re standard in decent cabinets
- Dovetail drawer construction — a sign of quality joinery
- Full-overlay doors — these give a more modern, seamless look that works well in split-level homes
One thing I’d do differently: take your cabinets all the way to the ceiling. With 8-foot ceilings, there’s no reason to stop short and leave a gap. That gap collects grease, dust, and the random objects that somehow always end up on top of cabinets. Full-height cabinets also make the room feel taller.
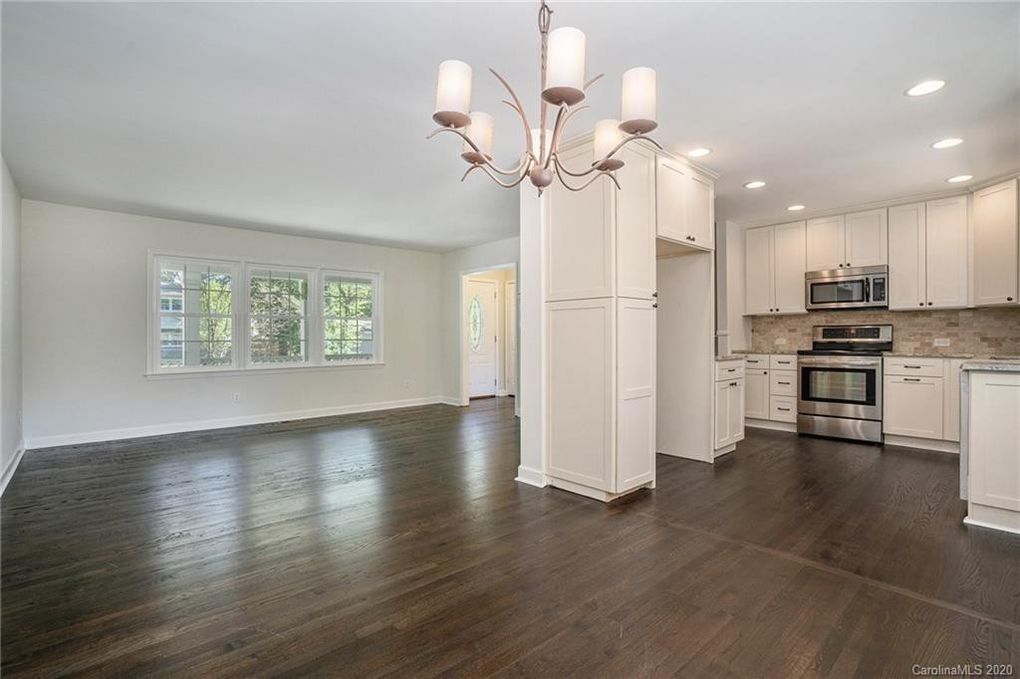
Step 4: Creating the Open Concept
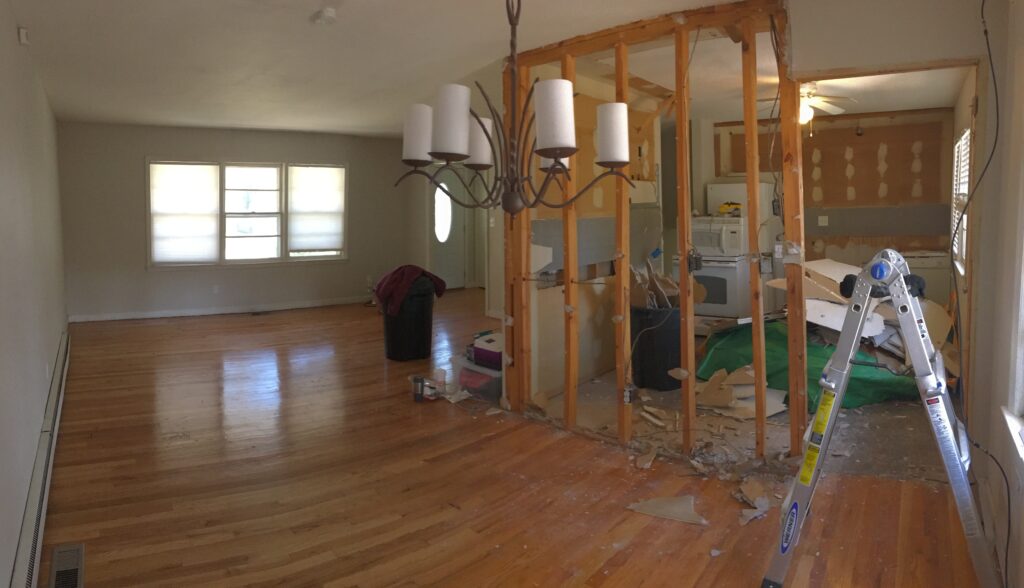
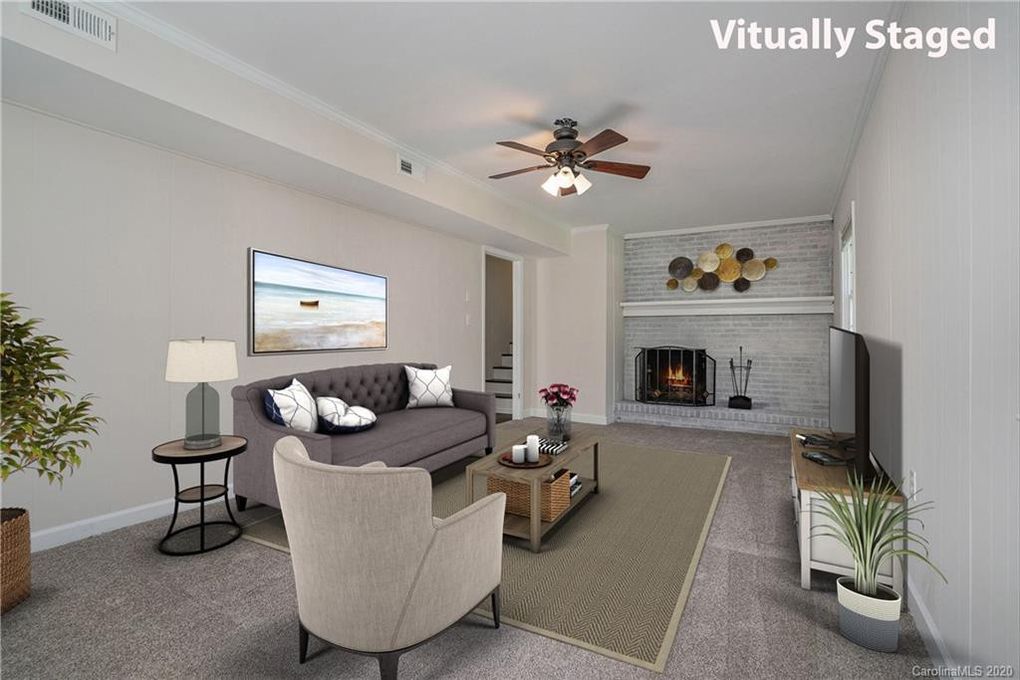
Once the old cabinets were out and the wall came down, the transformation was immediate. Even with just one wall removed, the kitchen went from a cave to a real room you’d want to spend time in.
Here are the four main open-concept approaches I’ve seen work in split-level kitchens:
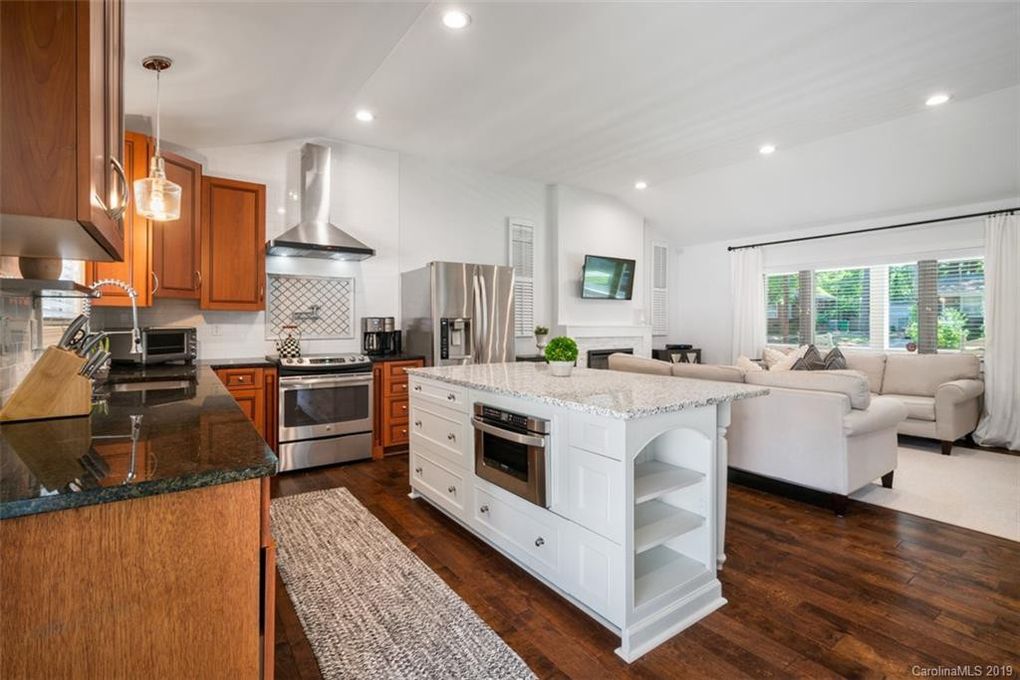
Option 1: Full Wall Removal
The most dramatic option. Remove the partition wall entirely and create a fully open connection to the living room. This is what I did, and it’s my recommendation if the wall is non-load-bearing. Pair it with a kitchen island if you lose counter space, and run your cabinet uppers all the way to the ceiling.
Option 2: Half-Wall / Bar Opening
If the wall is load bearing or you want to preserve some separation, cut a bar-style opening. This keeps structural integrity while adding visual flow. Add pendant lights above and bar stools below for a natural gathering spot.
Option 3: Full Open Concept + Raised Ceiling
The premium option. Remove all partition walls AND take the ceiling up to the rafters. This creates cathedral-style drama and is increasingly popular in split-level renovations. Budget significantly more — think $40,000–$80,000 for a full contractor job — but the result is stunning.
Option 4: Rearrange and Refresh
If your budget doesn’t allow for wall removal, rearranging appliances, replacing cabinet fronts, adding a backsplash, and installing new lighting can still deliver a meaningful transformation for under $5,000.
Mistakes I Made (So You Don’t Have To)
- Not hiring a structural engineer first — I got lucky, but I should have had a professional confirm the wall was non-load-bearing before touching it.
- Buying cabinets before measuring twice. I ended up with a cabinet that was 3 inches too wide and had to return it and wait 3 weeks for the replacement.
- Skipping the subfloor inspection. Finding the water-damaged section after cabinets were installed would have been a nightmare.
- Not planning for the refrigerator space properly — always account for door swing clearance and ventilation space behind the unit.
- Choosing a backsplash tile I loved in the store that looked completely different on a full wall under kitchen lighting. Order samples first.
Frequently Asked Questions
How much does it cost to remodel a split level kitchen in 2026?
A DIY split-level kitchen remodel typically runs $6,000–$12,000 for new cabinets, countertops, appliances, and flooring. A full contractor remodel with wall removal and high-end finishes can reach $40,000–$70,000+. The biggest variables are cabinet quality and whether structural work is needed.
Do I need a permit to remove a wall in my kitchen?
In most jurisdictions, yes — especially if the wall contains electrical, plumbing, or HVAC, or if it’s load bearing. Check with your local building department before starting. Permits typically cost $100–$500 and protect you when it’s time to sell.
Can I remove a wall in a split-level kitchen myself?
Yes, if the wall is confirmed non-load-bearing and doesn’t contain active utilities. Many homeowners tackle this themselves. Always have electrical confirmed off with a voltage tester before cutting.
What’s the best cabinet brand for a DIY kitchen remodel?
For RTA cabinets in 2026, Lily Ann Cabinets, Cabinetsnow, and The RTA Store are consistently well-reviewed. For semi-custom, IKEA’s SEKTION line remains a reliable budget option with a massive accessory ecosystem.

Max
Max Lowrie, founder of MySplitLevel.com® and author of The Live In Flip© bought his first split level house in 2016. During a lengthy renovation, Max noticed that there was little useful content online specific to split-level homes. Max now devotes his time to share his knowledge hoping to help homeowners avoid unnecessary mistakes, and provide a blue print for split-level owners nationwide.
Giveaways, Ebook, and Forum coming soon. Be the first to know about new content!