Updated: May 2026
The den or basement level is one of the defining features of a split-level home — and one of its most underutilized assets. When I bought my 1960s split level, the lower level had no HVAC, exposed ductwork, bare concrete floors, and unfinished walls. It was essentially a storage room we occasionally walked through to get to the backyard. A year later, it was my favorite room in the house. Here’s everything I learned finishing a split-level basement, including the ductwork framing project that started it all.
What Makes Split Level Basements Different
The lower level of a split-level home isn’t quite a full basement — it sits partially above grade, which means it has more natural light potential than a traditional basement but also more exposure to exterior walls. Common challenges specific to split-level lower levels:
- No HVAC: Many older split levels were built before central air conditioning. The lower level may have no forced air at all.
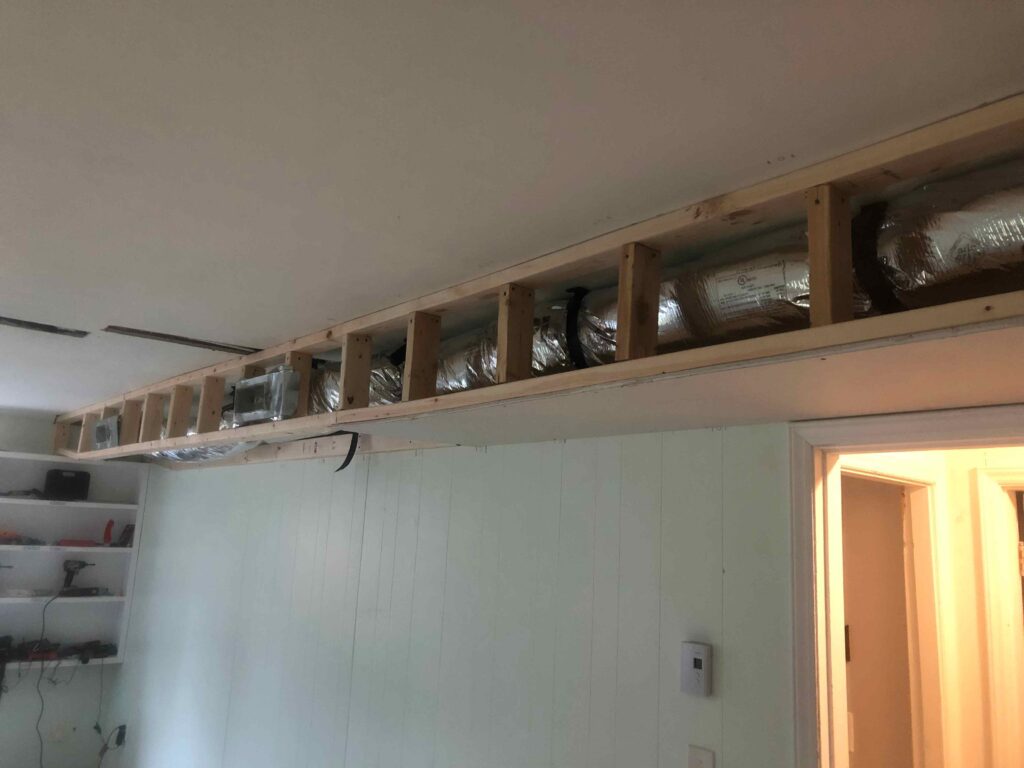
- Exposed ductwork: If HVAC was added later, the ductwork often runs exposed along the ceiling.
- Low ceiling height: Some split-level dens have 7-foot or lower ceilings, which limits what you can box in.
- Concrete pad floor: Unlike an upper-level wood subfloor, you’re often working directly on concrete.
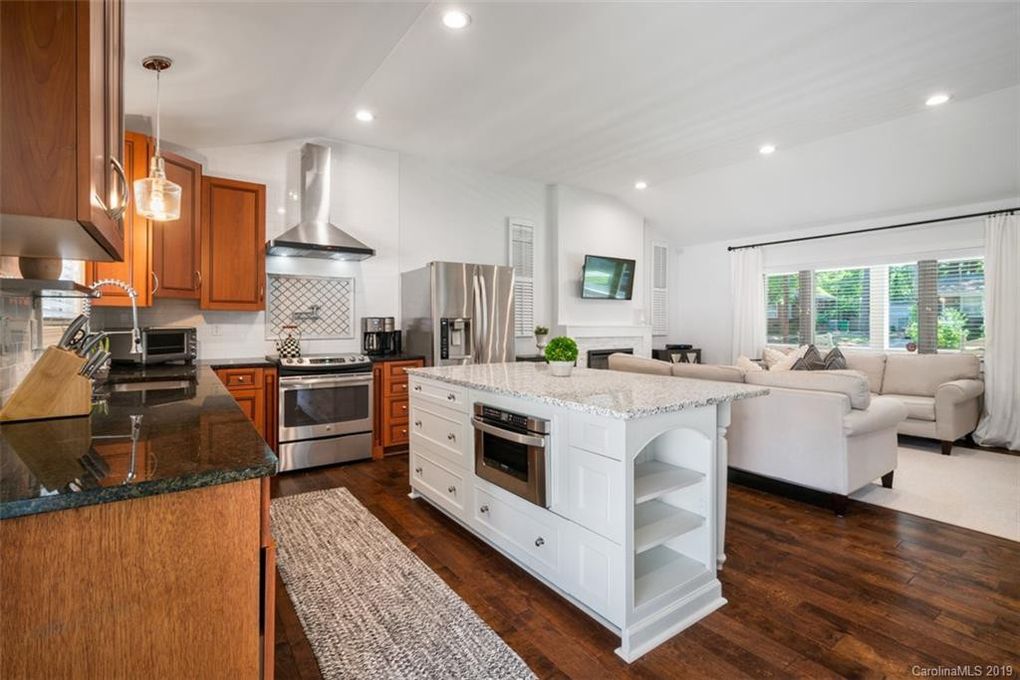
- Fireplace: Many split-level dens have a fireplace on one wall — work around it, not against it.
Step 1: Add HVAC Before You Frame Anything
If your lower level has no HVAC, this is the first step — not the last. Running ductwork after framing is a nightmare. Get an HVAC contractor in to quote extending your existing system or adding a mini-split before you touch a 2×4. Mini-splits have become dramatically more affordable and are often the right solution for a split-level den since they don’t require ductwork at all.
2026 cost estimates:
- Extending existing ductwork to lower level: $1,500–$4,000 depending on complexity
- Mini-split installation (1 zone): $2,500–$5,000 installed
- Baseboard electric heat (add-only): $300–$800 per unit installed

Giveaways, Ebook, and Forum coming soon. Be the first to know about new content!
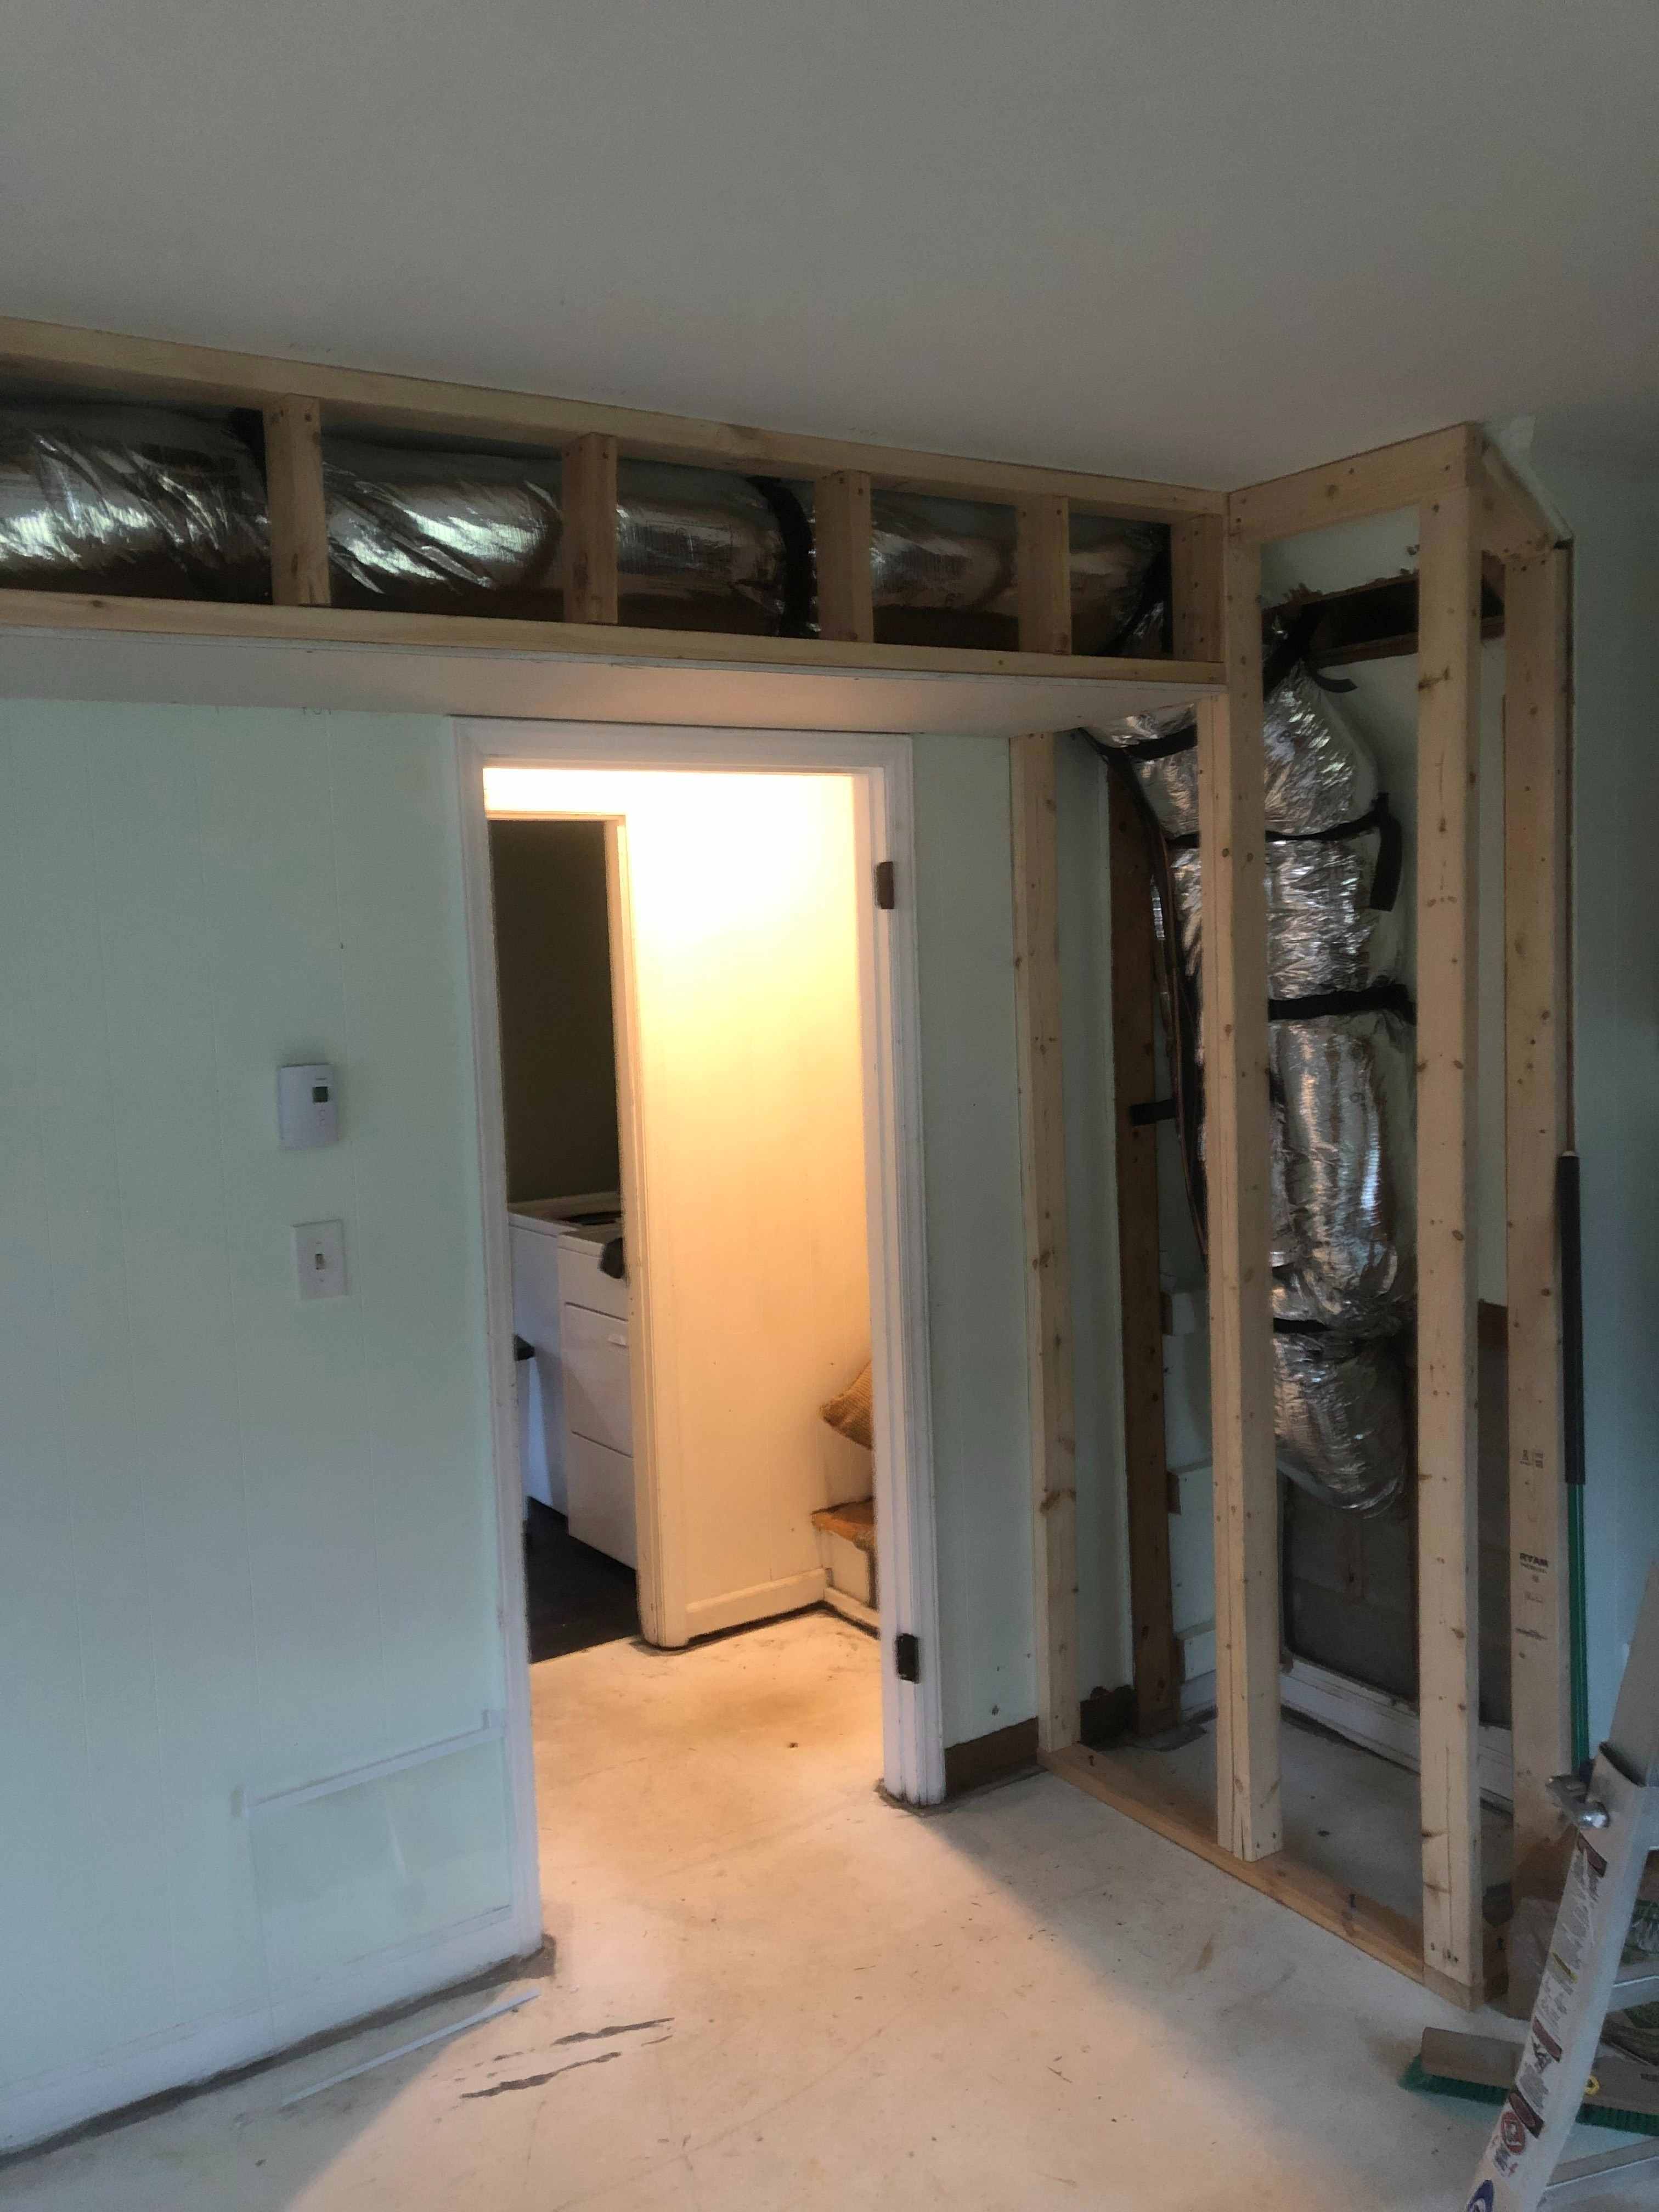
Step 2: Framing Around Ductwork — Step by Step
Once your HVAC is in place, any exposed ductwork needs to be boxed in with a soffit before you can drywall. Here’s exactly how I did it.
Tools You’ll Need
- Miter saw
- Framing nailer (pneumatic or battery-powered)
- Tape measure and pencil
- Level (4-foot minimum)
- Wall scanner / stud finder
- Safety glasses and hearing protection
Materials
- 2×4 lumber (kiln dried — avoid wet lumber in an interior application)
- 16d framing nails or 3” framing screws
- 1/2” drywall for the soffit faces
Plan on roughly 1 linear foot of 2×4 per foot of ductwork run, plus extra for vertical drops.
The 6-Step Process
- Plan and mark: Measure the ductwork dimensions and mark the soffit footprint on the ceiling and wall with a chalk line. Add at least 2 inches of clearance on all sides of the duct for the frame.
- Mark all studs and utilities: Use a wall scanner to identify any electrical, plumbing, or existing framing you’ll be attaching to or drilling through. Mark everything clearly before you start nailing.
- Install the ceiling ledger: Nail or screw a 2×4 flat against the ceiling along one side of the planned soffit. This is your first anchor point — make sure it hits joists or blocking, not just drywall.
- Build and install the vertical frame: Cut vertical 2×4 studs to drop from the ceiling ledger to the planned bottom of the soffit. Space these no more than 16 inches apart to prevent drywall sag.
- Install the bottom nailer: Run a horizontal 2×4 along the bottom of the vertical studs. This is what your drywall’s bottom edge will nail into. Check for level across the entire run.
- Connect the corners and close the box: Add framing to connect perpendicular runs and close any open corners. The finished frame should be a complete box around the ductwork with nailing surfaces on every face.
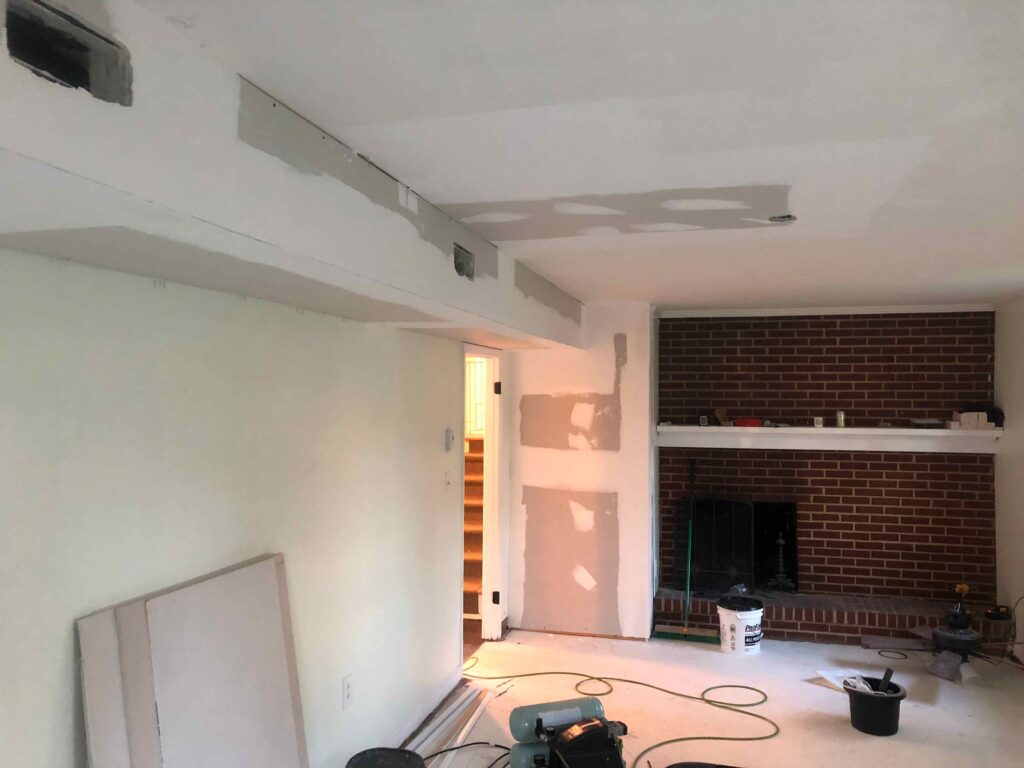
Drywalling the Soffit
Cut drywall to fit each face of the soffit and fasten with drywall screws every 8 inches. The corners are the tricky part — use metal corner bead on all outside corners for a clean, durable edge. Tape, mud, and feather the seams just like any drywall joint. Finishing drywall joints is a skill that takes practice — if you’re not confident, this is worth hiring out. A bad drywall finish will haunt you every time you look at it.
Step 3: Flooring for a Split-Level Basement
Concrete floors need to be addressed before any finished flooring goes down. Check for moisture first — tape a piece of plastic sheeting to the concrete and leave it for 48 hours. If moisture collects underneath, you have a problem that needs addressing before flooring.
Best flooring options for a split-level lower level in 2026:
- Luxury Vinyl Plank (LVP): The clear first choice. 100% waterproof, installs directly over concrete, warm underfoot, and looks great. Budget $2–$5 per square foot for material.
- Engineered hardwood: A step up in look and feel, but moisture-sensitive. Only appropriate if the concrete is confirmed dry. Budget $4–$10 per square foot.
- Carpet: Warm and comfortable, but not recommended directly over concrete without a proper vapor barrier and padding system. Budget $2–$5 per square foot installed.
- Polished concrete: If the slab is in good shape, polishing and sealing it is a stylish, maintenance-free option. Budget $3–$8 per square foot for professional polishing.
Step 4: Lighting a Split Level Den
Split-level lower levels are often darker than upper floors. Lighting is critical. Plan for at least three types of light:
- Recessed lights in the main ceiling area (not in the soffits — save those for accent lighting)
- Task lighting near any work or reading areas
- Fireplace accent lighting if you have one — a pair of sconces flanking a fireplace makes a huge difference
If your lower level ceiling is too low for recessed lights (under 7 feet), flush-mount fixtures or track lighting are the alternatives.
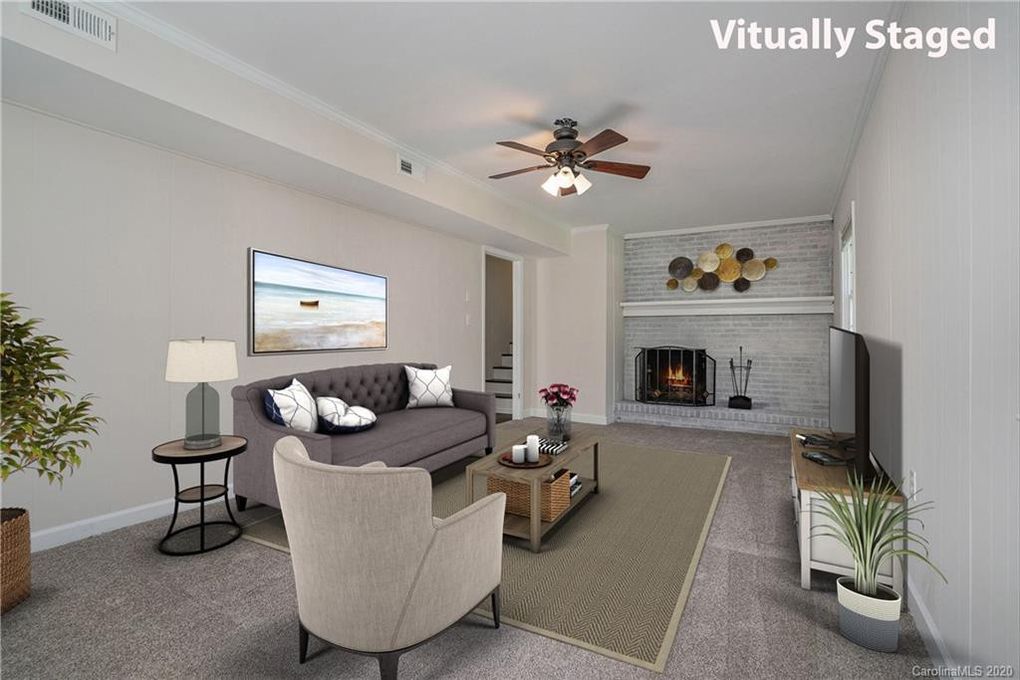
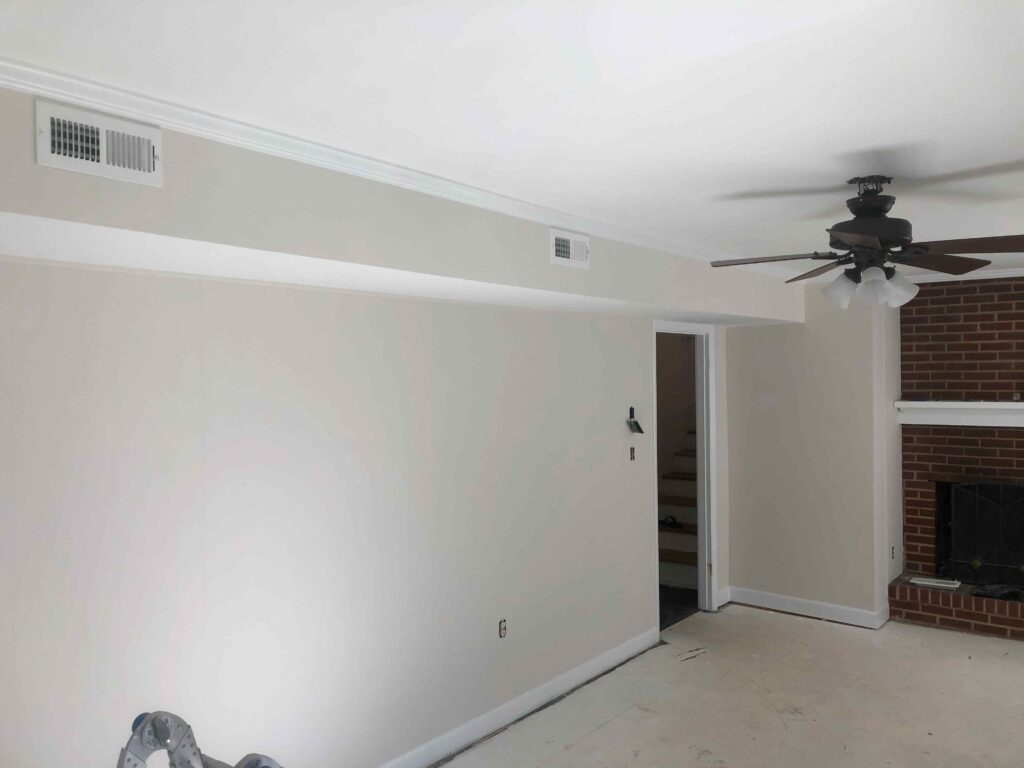
What the Finished Space Could Be
Once framed, drywalled, floored, and lit, your split-level den is genuinely versatile. Some of the best uses I’ve seen:
- Second family/TV room — the separation from the main living level is actually a feature, not a bug
- Home office — lower levels tend to be quieter and more private
- Guest bedroom (check local egress window requirements for legal bedroom status)
- Home gym — concrete subfloor is ideal for heavy equipment
- Airbnb suite — the private entrance many split-levels have is perfect for this
Common Mistakes to Avoid
- Framing before HVAC — always get mechanicals in first
- Skipping the moisture test — flooring installed over a damp slab will fail within 2 years
- Spacing drywall studs more than 16 inches — leads to soft, wavy walls
- Forgetting access panels — if you’re boxing in a shut-off valve, cleanout, or electrical junction, you need an access panel
- Not planning lighting circuits before drywalling — adding a circuit after the fact is expensive and messy

Max
Max Lowrie, founder of MySplitLevel.com® and author of The Live In Flip© bought his first split level house in 2016. During a lengthy renovation, Max noticed that there was little useful content online specific to split-level homes. Max now devotes his time to share his knowledge hoping to help homeowners avoid unnecessary mistakes, and provide a blue print for split-level owners nationwide.
Giveaways, Ebook, and Forum coming soon. Be the first to know about new content!