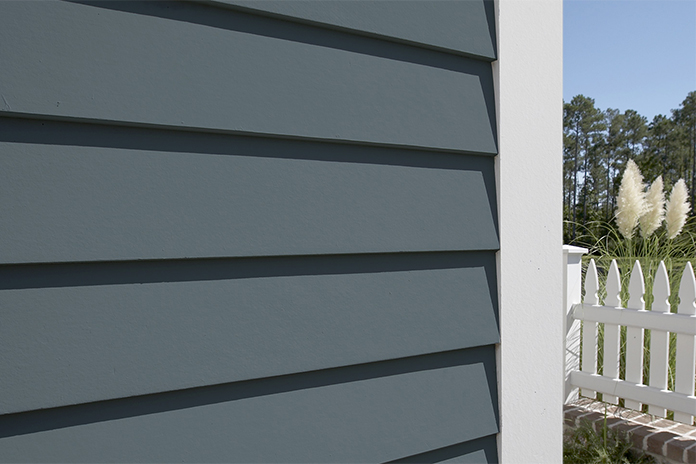
Fiber cement siding is one of the most popular upgrades for modernizing a split-level home — and for good reason. It’s durable, attractive, and fits perfectly with the layered look of a split-level façade. In this guide, I’ll walk you through how to install fiber cement siding step-by-step. But if you’re still deciding between materials, I’ve also included a 2025 comparison of today’s best siding options to help you choose with confidence.
| Siding Type | Cost/Sq Ft | Maintenance | Best For | 2025 Trend Rating |
|---|---|---|---|---|
| Vinyl | $3–$7 | Low | Budget-friendly makeovers | ⭐⭐⭐ |
| Fiber Cement | $5–$10 | Medium | Modern curb appeal | ⭐⭐⭐⭐ |
| Engineered Wood | $6–$12 | Medium | Natural texture lovers | ⭐⭐⭐⭐ |
| Stucco | $8–$14 | Low | Southwestern/Midcentury styles | ⭐⭐ |
| Composite Panels | $10–$20 | Low | Sleek, modern split-levels | ⭐⭐⭐⭐⭐ |
Why Fiber Cement Siding is GREAT for Split- Level Homes
Fiber cement siding complements the architectural style of split-level homes with clean lines and multiple finish options. It’s resistant to rot, fire, and pests, making it a long-term investment in durability and design.
What Is Fiber Cement Siding?
Fiber Cement siding is a combination of cement, water, sand, and cellulose fibers. The combination of these compounds provides a strong, long-lasting option for a home’s exterior. Another benefit of fiber cement is the ability to hold paint. Due to its porous nature, the material soaks up paint when applied. Tests have shown that paint also withstands fade from UV rays on fiber cement siding better than it would on other siding materials.
Fiber Cement siding usually comes in 12-foot long planks. Depending on the manufacturer, the width of these boards is usually somewhere between 7 and 8 inches. This is referred to as Lap Siding because the boards overlap each other in order to keep the rain away.
Other styles of fiber cement siding include shingles, vertical siding, 4×8 panels, trim, and soffit panels.
How Much Does Fiber Cement Siding Cost?
Planks of siding typically cost anywhere from $8-$14 a board, depending on the style you want. You can often get better prices through a building supply than you would at retail stores like Lowes or Home Depot.
How Much Siding Do I Need?
Start by calculating the amount of siding you’ll need. You’ll want to measure the width and height of the area. Typical Fiber cement boards are 8″ wide, by 12 feet long, yielding 8 square feet per board. So…
- Add up the total square feet around your house by measuring the length and height. These measurements can be approximate, but be sure to round UP not down.
- Subtract the rough area of all doors and windows that you’ll need to cut around. You can measure your doors and windows from the interior, find their total surface area and subtract them from your calculation in step one.
- Add 10% to account for waste. (Some of the pro’s say 5% waste is enough, if you’re not a pro, I recommend adding 10% waste)
For a less complicated way of calculating this, use this online calculator.

Giveaways, Ebook, and Forum coming soon. Be the first to know about new content!
How to Install Hardie Plank Siding by Yourself – Tools You’ll Need
I know it looks daunting, but installing a whole house-worth of siding can be done completely by yourself with one must-have tool:
A set of Gecko Clamps is non-negotiable whether you're installing siding by yourself, or with help. These will pay for themselves within the first hour.
These gecko clamps are a lifesaver, and absolutely non-negotiable for installing siding. You’ll see how they’re used throughout the tutorial. If you have the benefit of manpower, order two sets of gecko clamps so two areas can be done simultaneously.
Tools You’ll Need
-
 Check Price
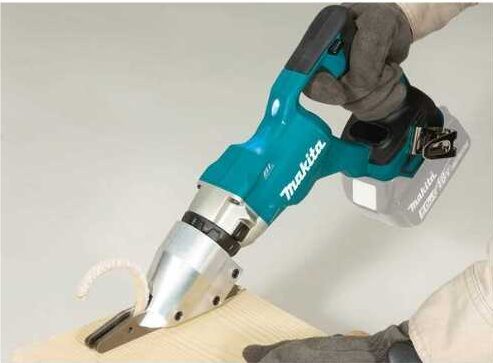
I prefer these as opposed to a skill saw, the shears dramatically cut down on the amount of toxic dust, and they make cutting around doors and windows much easier. If you have extra money to spend, I highly recommend getting a siding guillotine to save time.
We earn a commission if you make a purchase, at no additional cost to you.
-
 Check Price
Make sure you’re acquiring a siding nailer and not a roofing nailer. If you have a friend that can lend you one, great! If not, buying one is going to be cheaper than renting one if you’re planning to take more than a week. I personally bought this one, and later sold it on craigslist after the project was complete.
We earn a commission if you make a purchase, at no additional cost to you.
-
 Check Price
Doesn't need to be nice, you’ll drop it a lot, a plastic one like this will do. Larger speed squares are easier to work with for siding panels.
We earn a commission if you make a purchase, at no additional cost to you.
-
 Check Price
I put a sheet of plywood across two sawhorses and made it my portable cutting station. You want to avoid bending over for every cut.
We earn a commission if you make a purchase, at no additional cost to you.
-
 Check Price
I purchased a 6 foot scaffolding unit like this one. It’s not totally necessary however it will make work a lot easier once you’re above your head. After about 15 feet off the ground I had to use ground ladders. The scaffolding is well worth the money. Plus harbor freight usually offers 20% off which takes their scaffolding unit to around $150.
We earn a commission if you make a purchase, at no additional cost to you.
Recommended Reading: Best Fiber Cement Shears
Material List
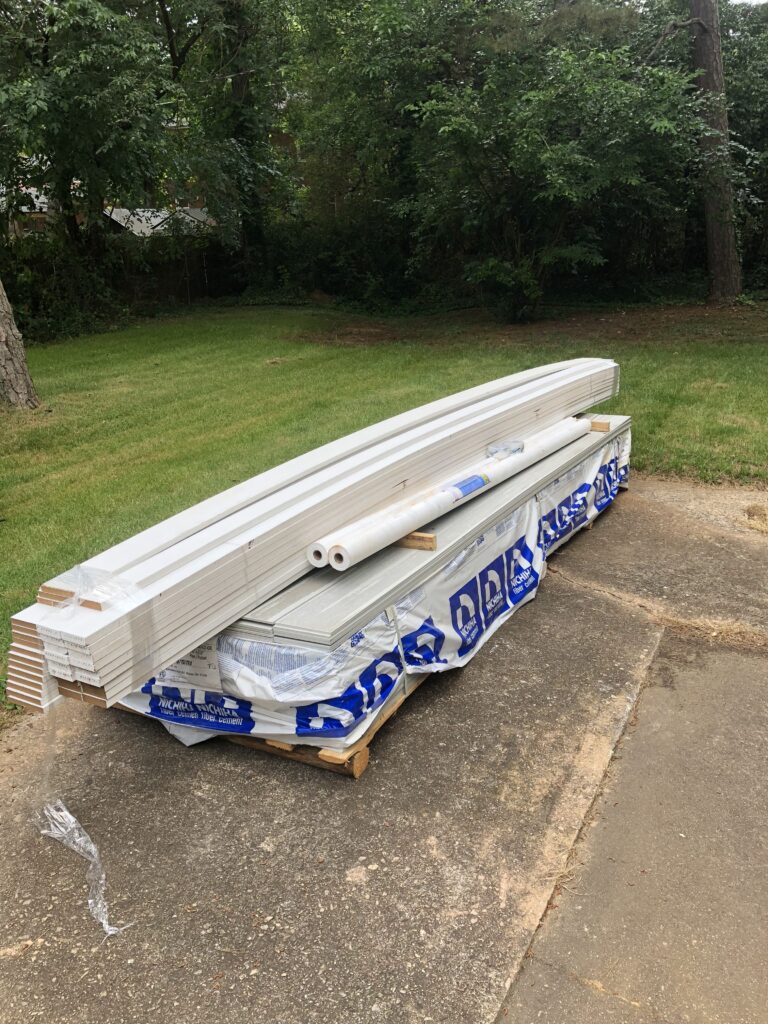
I strongly recommend you have these materials delivered if you can help it. Call around to local construction supply companies; it will be a bit cheaper there. If they’re not willing to work with you, Home Depot or Lowe’s offers delivery with a fee. The fee is worth it. It would take hours to load all of these materials up at a store, only to have to bring them to the car, load them again, and unload them at your house. Save your back and have these materials delivered.
- Siding – most suppliers carry Hardiplank, but ask if they carry another brand that may be cheaper. I personally used Nichiboard and it worked out to be a 30% savings as opposed to Hardie plank.
- House Wrap – These come in large rolls measuring 9 feet long. You’ll need to shingle this after you tear off the old siding. (Shingling just means overlapping starting with applying the bottom first so that rain can’t run down into a lower layer)
- Trim – You’ll need trim for the corners of your house to give the siding something to butt into. If you’re looking to update the exterior trim around your windows and doors, this is the perfect time to do it. Scan Pinterest for a style you want and buy the corresponding sizes.
- Siding Nails– These can vary, but the standard is a 2.5” siding nail. If you’re unsure of what nails you’ll need, ask someone in that department.
- Trim Nails – These are typically longer and thicker than siding nails.
How to Install Fiber Cement Siding Step by Step
Step 1 – Remove Old Siding
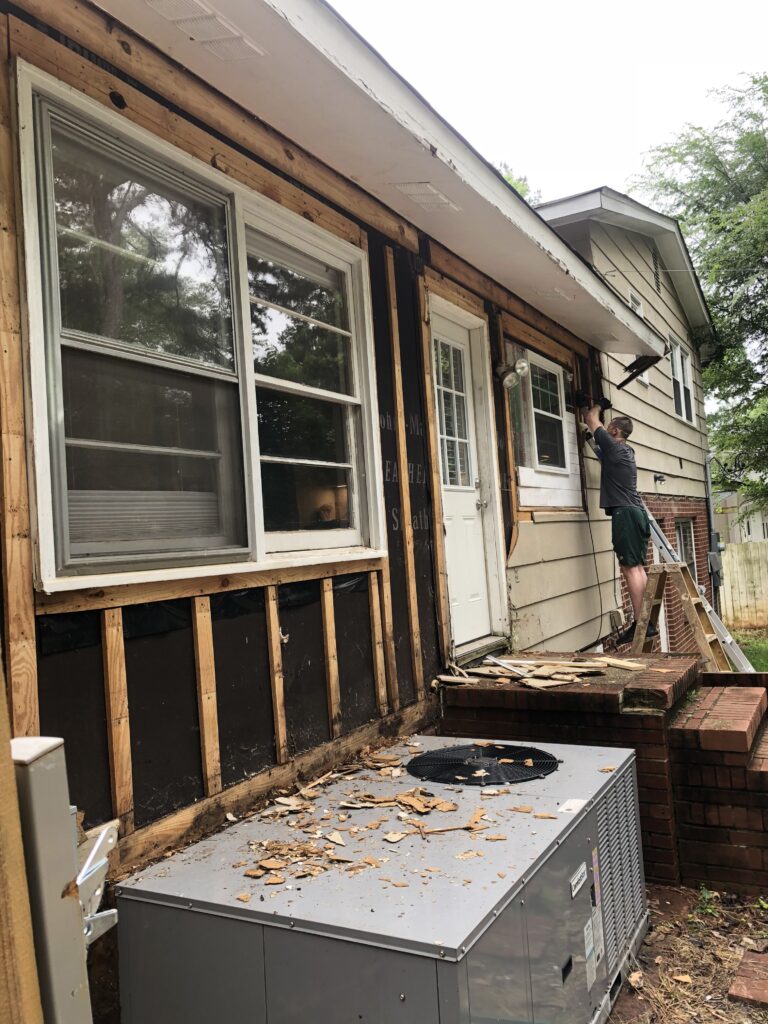
I’m not going to lie, this part sucks. On my house I had masonite siding (which can be toxic) that was the texture of wet cardboard. You’ll definitely want to wear a mask, gloves, and a long sleeve shirt. Some old siding can contain asbestos, you don’t want to breathe this in or get it on your skin.
Due to the size of my project, I rented a dumpster. A construction dumpster should cost no more than $500 for a two week rental. Use this to your advantage and demo a future project while you have it.
Start at the highest point you can, and pry the old siding off from the top down. Make sure to remove ALL nails. The last thing you want is to find out you missed a nail after setting a new hardie plank panel into place.
Step 2 – Install House Wrap
On most houses, you’ll either damage the existing house wrap when tearing off the old siding, or have no house wrap at all. This is all dependent on the house. I got lucky because my weather barrier is installed under 1-inch slats for the siding to be nailed to. However, not all houses are built this way.
It is absolutely critical to mark where your studs are when installing house wrap. You want to always hit a stud when nailing the siding. Mark where the studs are by finding one and using a level to mark a line from the top of it to the bottom of the area. Repeat this at every stud location.
I know marking studs can be tedious, but if done improperly you risk hitting water and electrical lines when nailing in the siding.
Step 3 – Install Trim
Install all window and corner trim on the area you’ll be working on. Corner trim consists of installing one board flush with the corner of the house, and then overlapping it with another on the perpendicular corner. Don’t worry too much about seeing the seam in between the two boards, painter’s will caulk this later.
Step 4 – Install First Row of Siding
The first board is the hardest thing to do by yourself. Start by finding a good spot to start off, measuring to the top to make sure you won’t end up with a small sliver at the top.
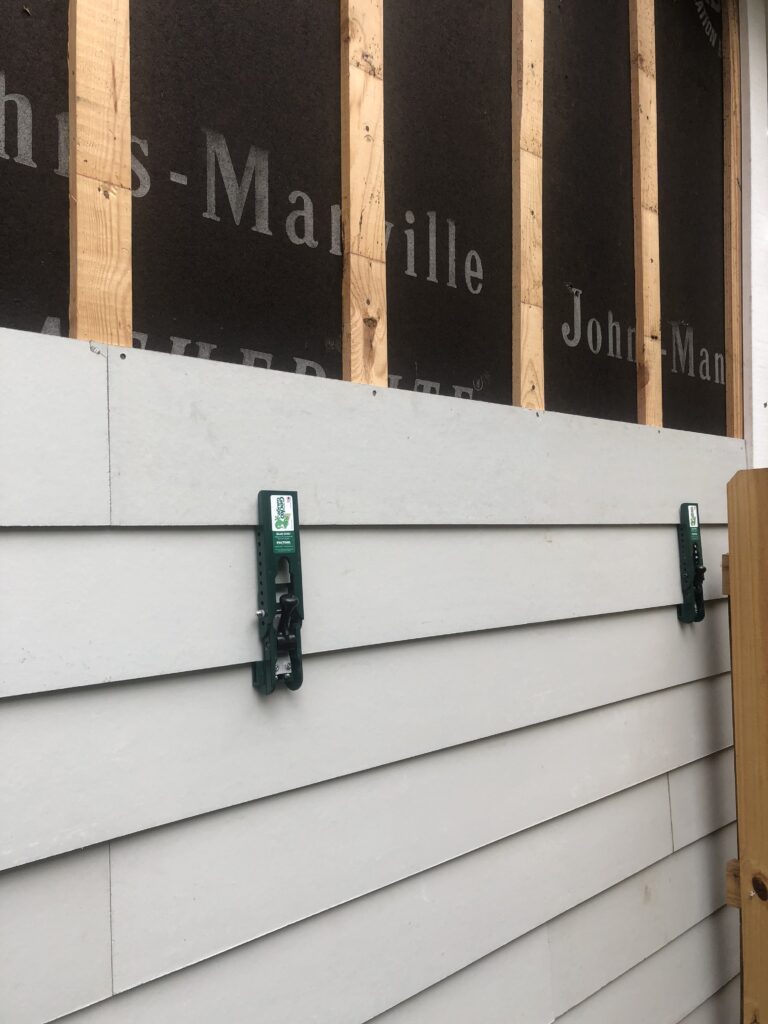
Once you have a good starting space, use your siding shears to cut a small 1-inch wide strip of one of the boards to fit the length of the area you’re working on. This allows the bottom piece to swing out away from the structure like all of the boards above it.
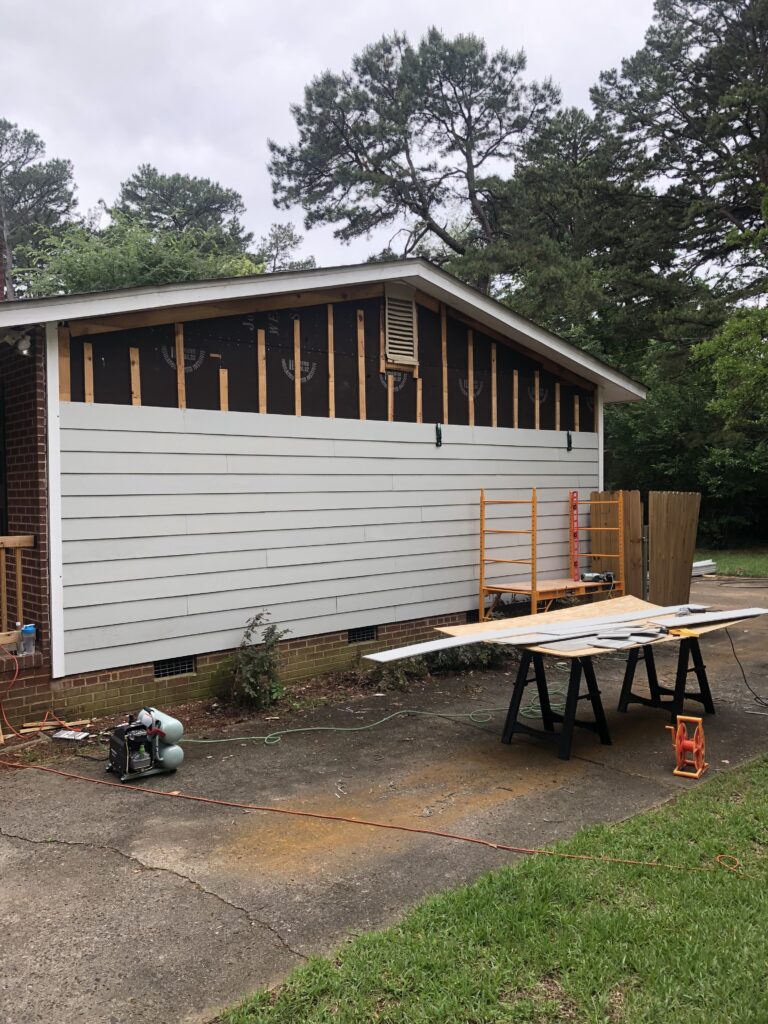
If you have someone helping you, have them hold the starting board while you ensure its level. Once you find the perfect spot, start nailing it to the house at the studs. Hit every stud you can.
You’ll find that these boards are flimsier than they seem to be, so you don’t want them to span a distance larger than 16″ without hitting a stud.
Step 5 – Install the Rest
After you install the first row, things get a bit easier…kind of. At this point it’s all about repetition. From now on you’ll be able to use your gecko siding clamps, speeding up the process.
Make sure that the clamps are both set to the same level of reveal that you desire. Most of the time, homeowners want a 7.25”-7.5” reveal, so play around and find what you like.
For distances longer than the length of your siding (typically 12 feet) you’ll need to butt two pieces together at a stud. Some experts recommend leaving a ⅛” gap in between boards, but I don’t think this is necessary. This is good practice for real wood material due to its tendency to absorb moisture and expand. A quality fiber cement product will not swell enough to do any damage. I like to butt them as close as possible because a good painter can hide the seam with caulk.
Keep this up, and you’ll see progress in no time.
How To Cut Fiber Cement Siding
As stated before, my favorite tool for cutting siding is the shears. The guillotine is best for making fast, straight cuts without obstacles to cut around. The shears are guided by your hand, making special cuts easy to navigate, all while cutting down on toxic dust.
Cutting around windows and door frames is pretty straightforward. Use the tape measure to find out where the cut needs to be made, and use the framing square to accurately trace where the cuts need to be made on the corresponding piece of siding. Try to make these cuts as tight as possible. Although the painters will caulk the small gap between the end of the siding and the corner trim, craftsmanship always wins, and it will only help while striving for a water-tight finish.
Pro Tips for Designing with Fiber Cement in 2025
• Mix horizontal lap siding with board & batten for visual interest
• Use color blocking to emphasize level changes
• Trending colors: charcoal, sage green, and warm natural tones
Visual Inspiration
How to Install 4×8 Hardie Board Siding
Most manufacturers offer a 4×8 panel option for fiber cement siding, often used for vertical siding. The installation process is similar to installing drywall, however, these panels are heavy and difficult to manage by yourself.
Start by measuring the entire area you’d like to cover. Decide if it will be better to install the panels with the long side horizontal or vertical.
Work from bottom to top, so that the boards on rows 2 and above will have row 1 to rest on while you shimmy them into place.
Repeat the steps from above; these don’t need to be staggered since most homeowners want some sort of trim to hide the seam. There are many ways to trim these out to hide the seams, explore Pinterest for some ideas and decide what you like best.
Ready to Get Started?
Like any substantial project, you’re going to have times when you’re tired, you’ve been working all day, and looking at the area left to do is daunting. That’s Okay! After flipping my first house, this was probably one of the most important lessons I’ve learned.
Fiber cement siding offers durability, curb appeal, and modern style that elevates any split-level home. If you’re planning a full renovation, grab our free Split-Level Project Planner to stay on budget and on track.

Max
Max Lowrie, founder of MySplitLevel.com® and author of The Live In Flip© bought his first split level house in 2016. During a lengthy renovation, Max noticed that there was little useful content online specific to split-level homes. Max now devotes his time to share his knowledge hoping to help homeowners avoid unnecessary mistakes, and provide a blue print for split-level owners nationwide.
Giveaways, Ebook, and Forum coming soon. Be the first to know about new content!

